Menu
This guide explains how to create and send an estimate in Clientility using milestone payments. Milestone payments allow contractors and service businesses to split a project total into scheduled payments, such as a deposit, payment before an event, payment after an event, and final balance.

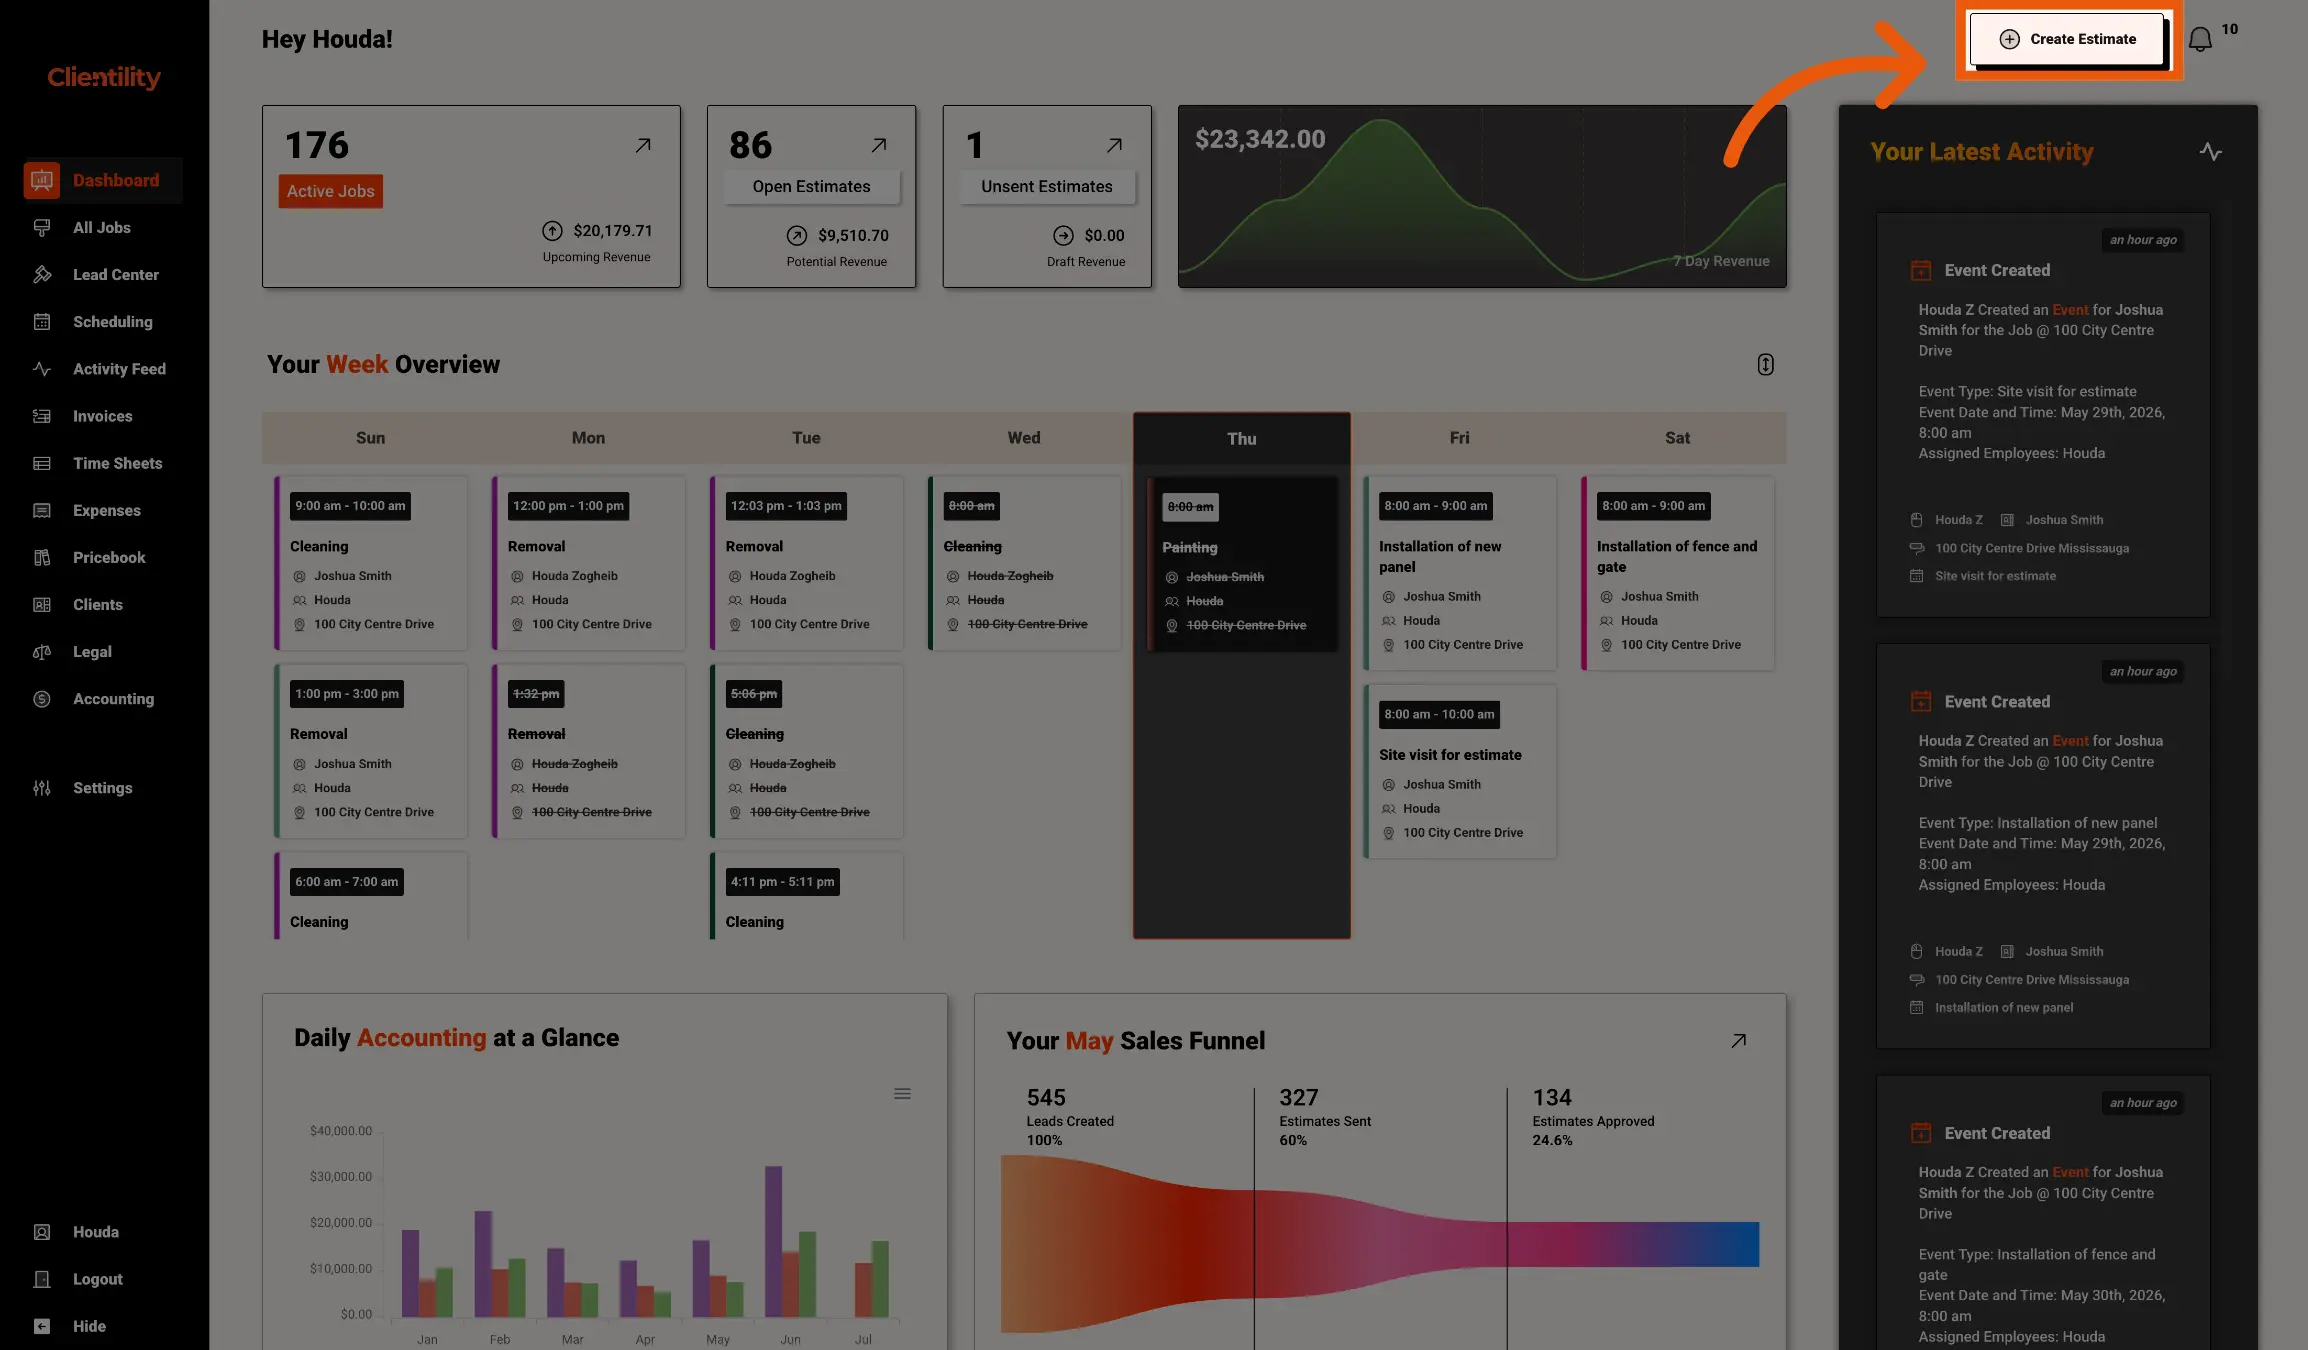
Click Create Estimate to begin building a new estimate. This opens the estimate creation workflow, where you can choose the estimate type, select a customer, add services/products, and set up milestone payments.

Select Single Estimate if you want to send one clear estimate price to the customer.
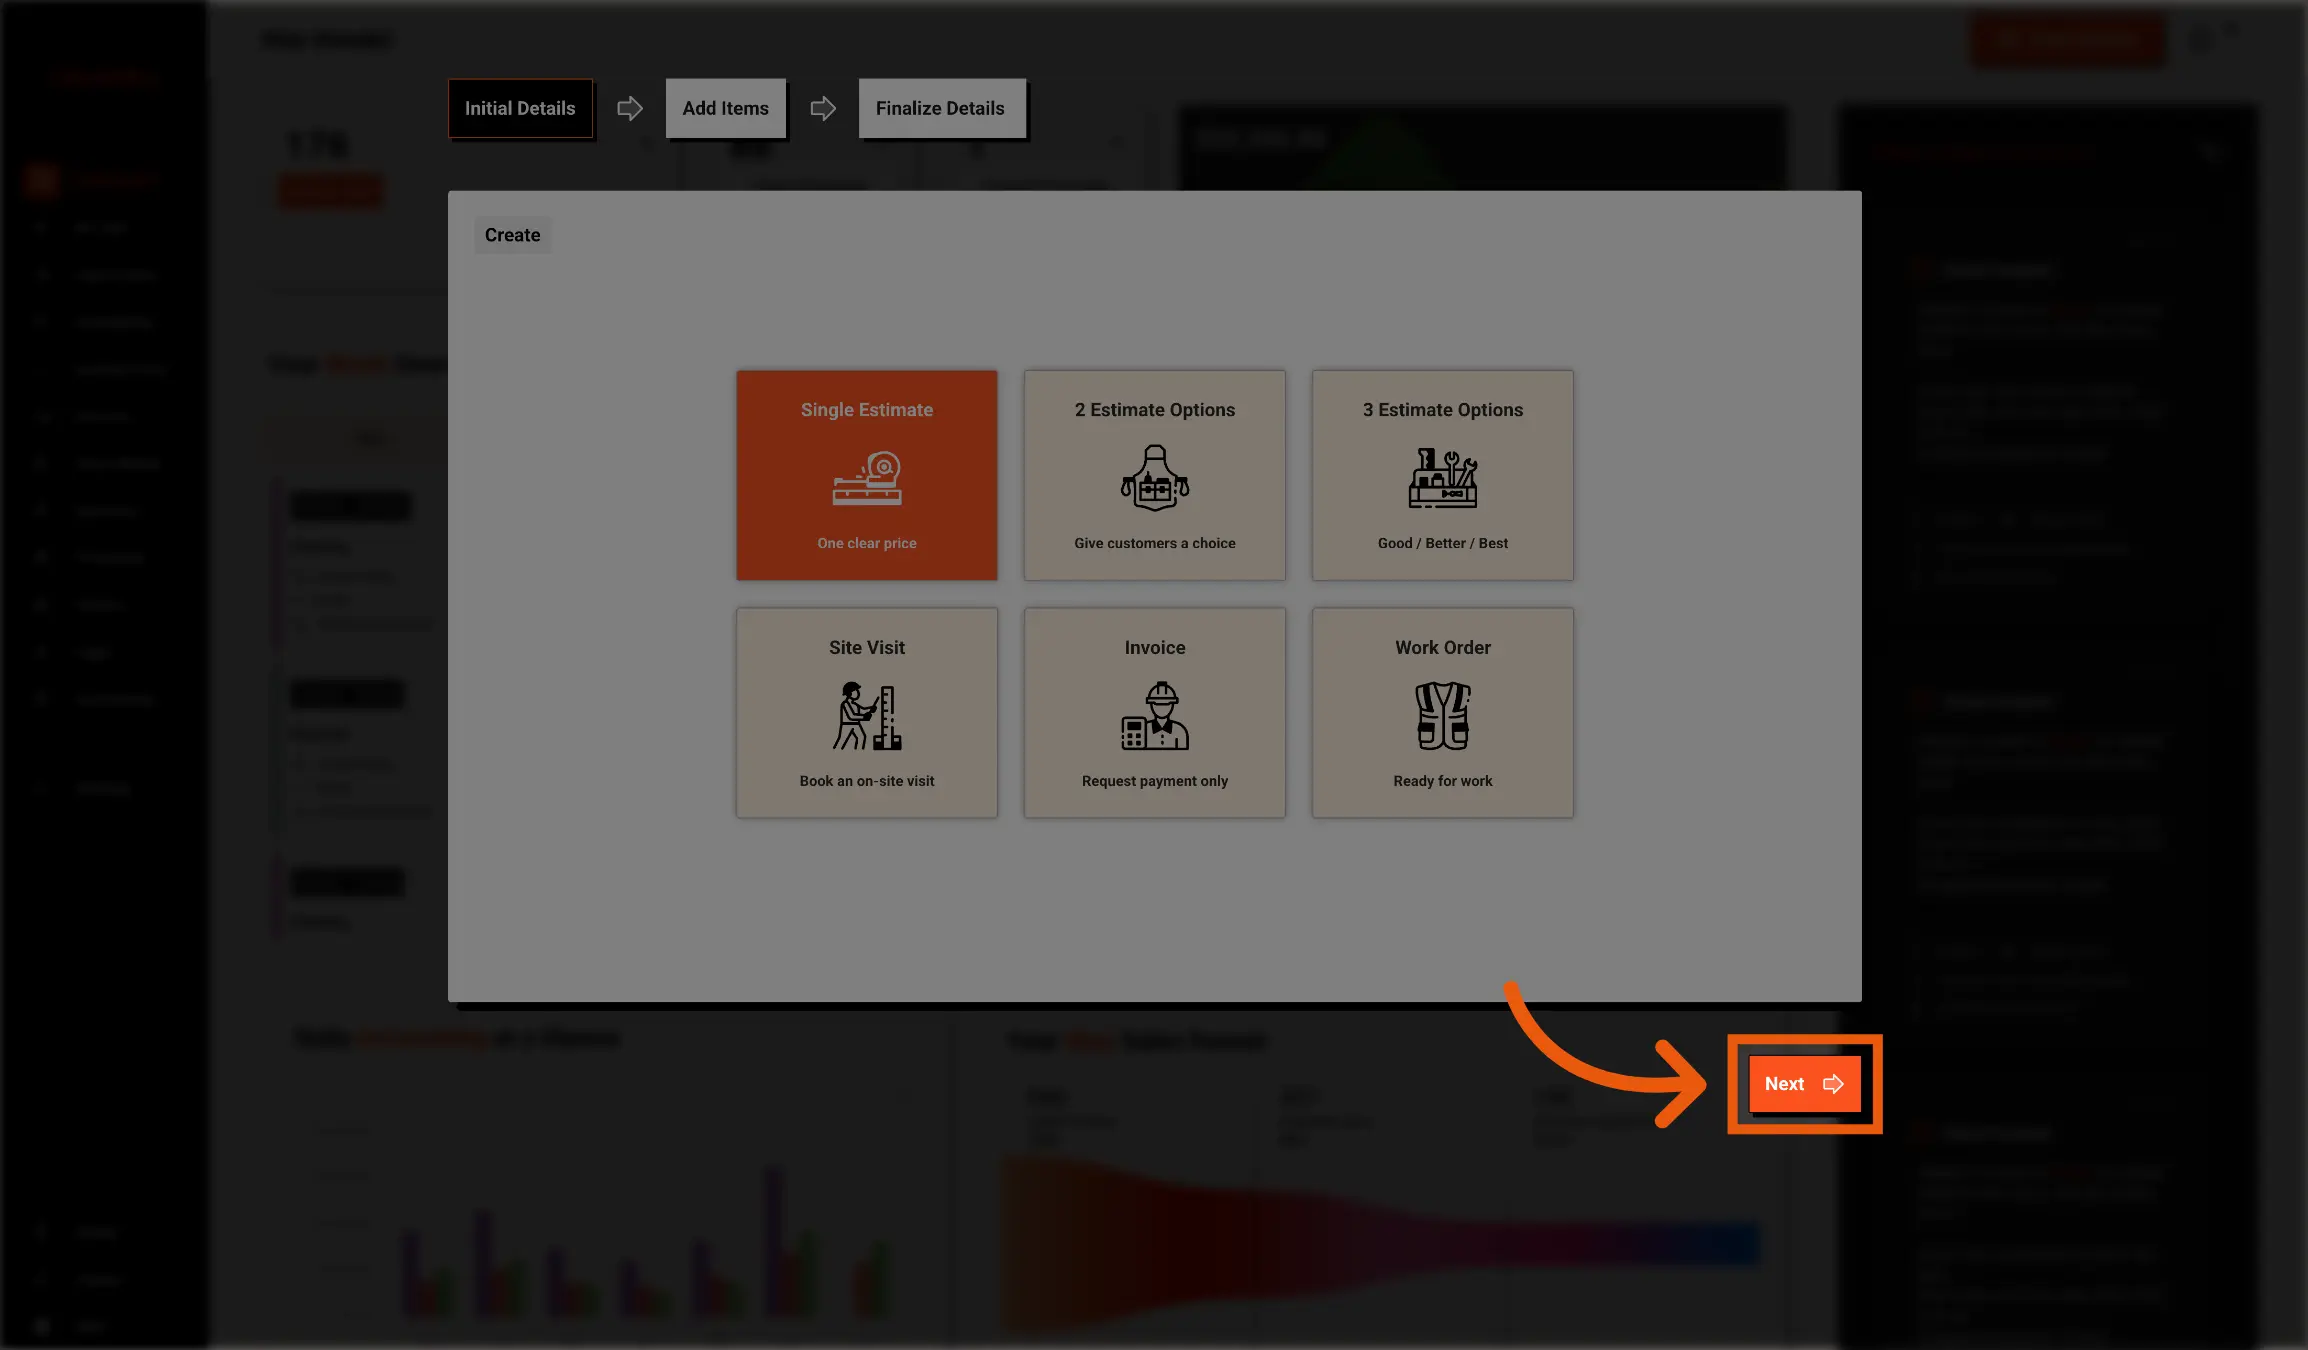
Click Next to move to the customer selection step. This is where you can connect the estimate to an existing customer or create a new customer record.

Use the customer selection step to choose who the estimate is for. You can click Search for Existing Customers to find a customer already saved, or you can add a new customer if they are not in your customer list yet.

Click Next to move to the service section of the estimate. This section is where you add your services or products.
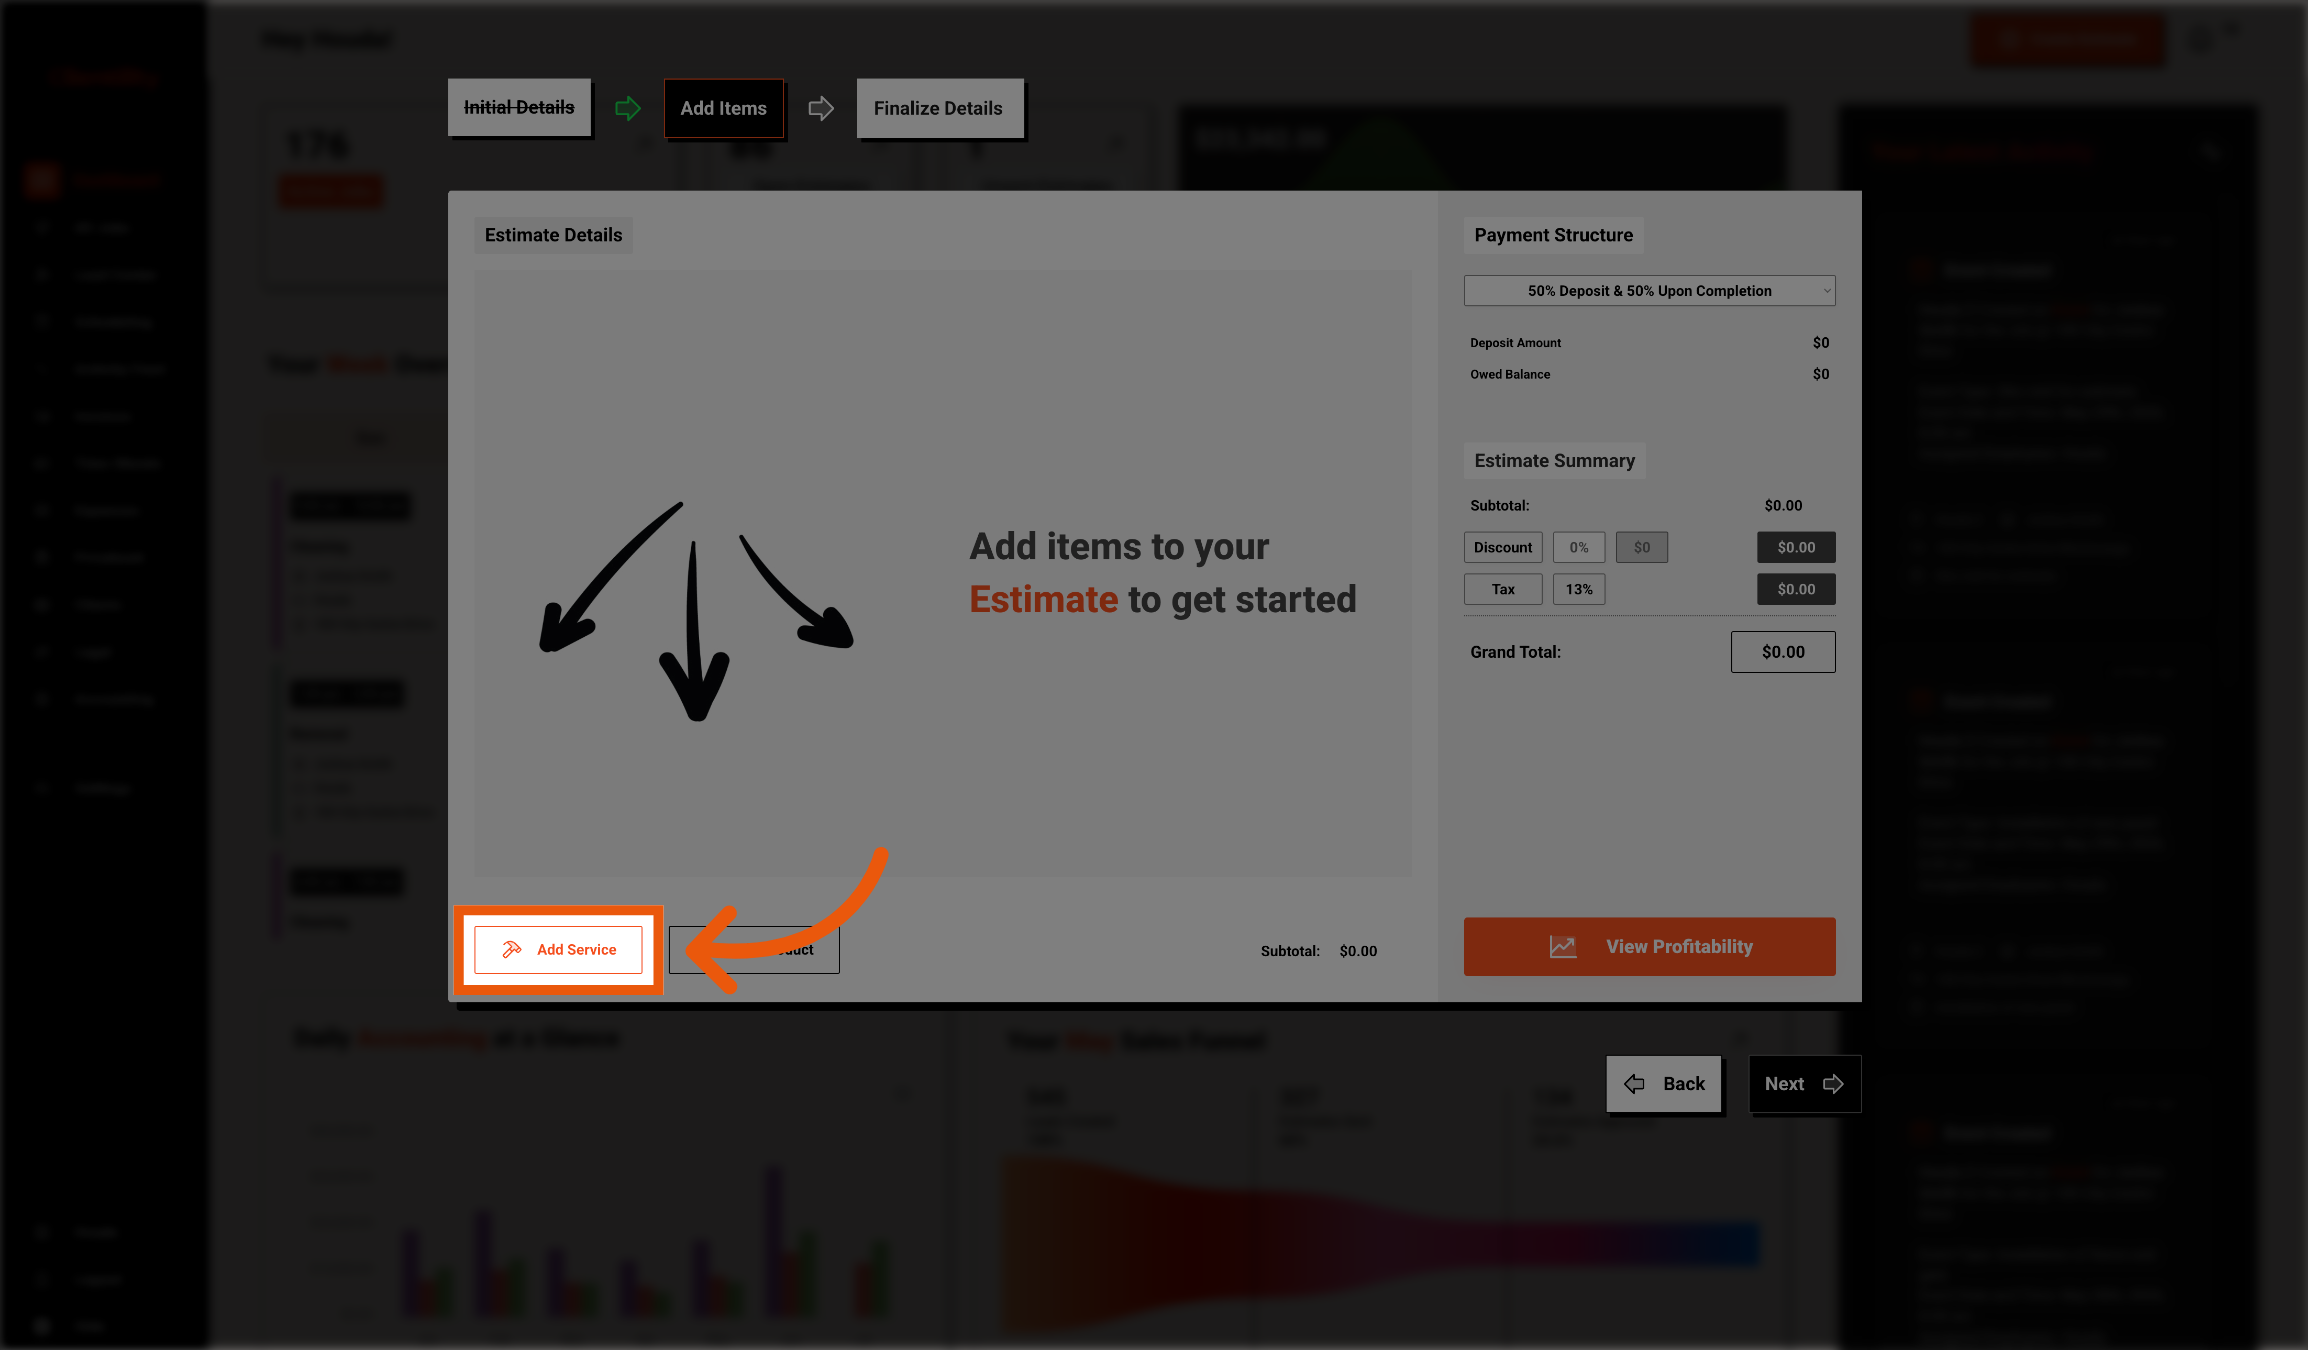
Click Add Service to include a service in the estimate. If you are adding a product as well, click Products.

Click Select an Existing Service to choose from your saved service list. Once done, click "Add Service."
Using existing services can help save time and make estimate creation faster.

Select Milestone Payments from the drop-down to create a new payment milestone for the estimate.

Click Add Milestone to start creating a milestone payment schedule.
Milestones let you split the total estimate amount into smaller payments that are due at different stages of the project.
For example, you may create payments for:

Choose the type of milestone you would like to create for this estimate.
You can make the milestone a Deposit, a Final Payment, or a payment that is due Before or After an Event.
Select Make this the Initial Deposit Payment if this payment should be collected as the deposit before the job begins.
Select Make this the Final Payment if this milestone should collect the remaining balance or final payment for the project.
If you choose Deposit or Final Payment, you do not need to link the milestone to an event. These payment types are not tied to a specific job event.

If this milestone is due before or after an event, enter a short milestone name that clearly explains what the payment is for.
This name will be shown to the customer in the Client Portal, so it should be easy to understand.
For example, you can use names like Payment Before Painting or Payment After Installation.

Select the Event Type you want this milestone payment to be connected to.
Event types are created in Settings under Event Setup. These event types represent the different stages of work that can happen during a job, such as painting, installation, inspection, or cleanup.
After selecting the event type, choose when the payment should be collected:
Before Event means the payment is due before that event starts.
After Event means the payment is due after that event is completed.
You do not need to schedule the events right now. Once the estimate is approved, you can schedule the events later from the job view.
Linking a milestone to an event type helps Clientility place the payment in the correct stage of the job timeline and makes it easier for the customer to understand when the payment is due in the Client Portal.

Once all milestone payments have been created and the payment structure looks correct, click Next to continue.

Review the estimate to make sure all customer details, services, products, pricing, and milestone payments look correct.
Once everything looks good, click Send Estimate to send the estimate to the customer.