

Menu
This guide explains how to create Event Types in Clientility. Event Types help organize the different appointments, visits, work stages, and internal events your business uses when scheduling jobs. Event Types are used throughout the software and can also appear in the customer portal, so they should be named clearly and professionally.

Click Settings from the main sidebar to access your account configuration options.
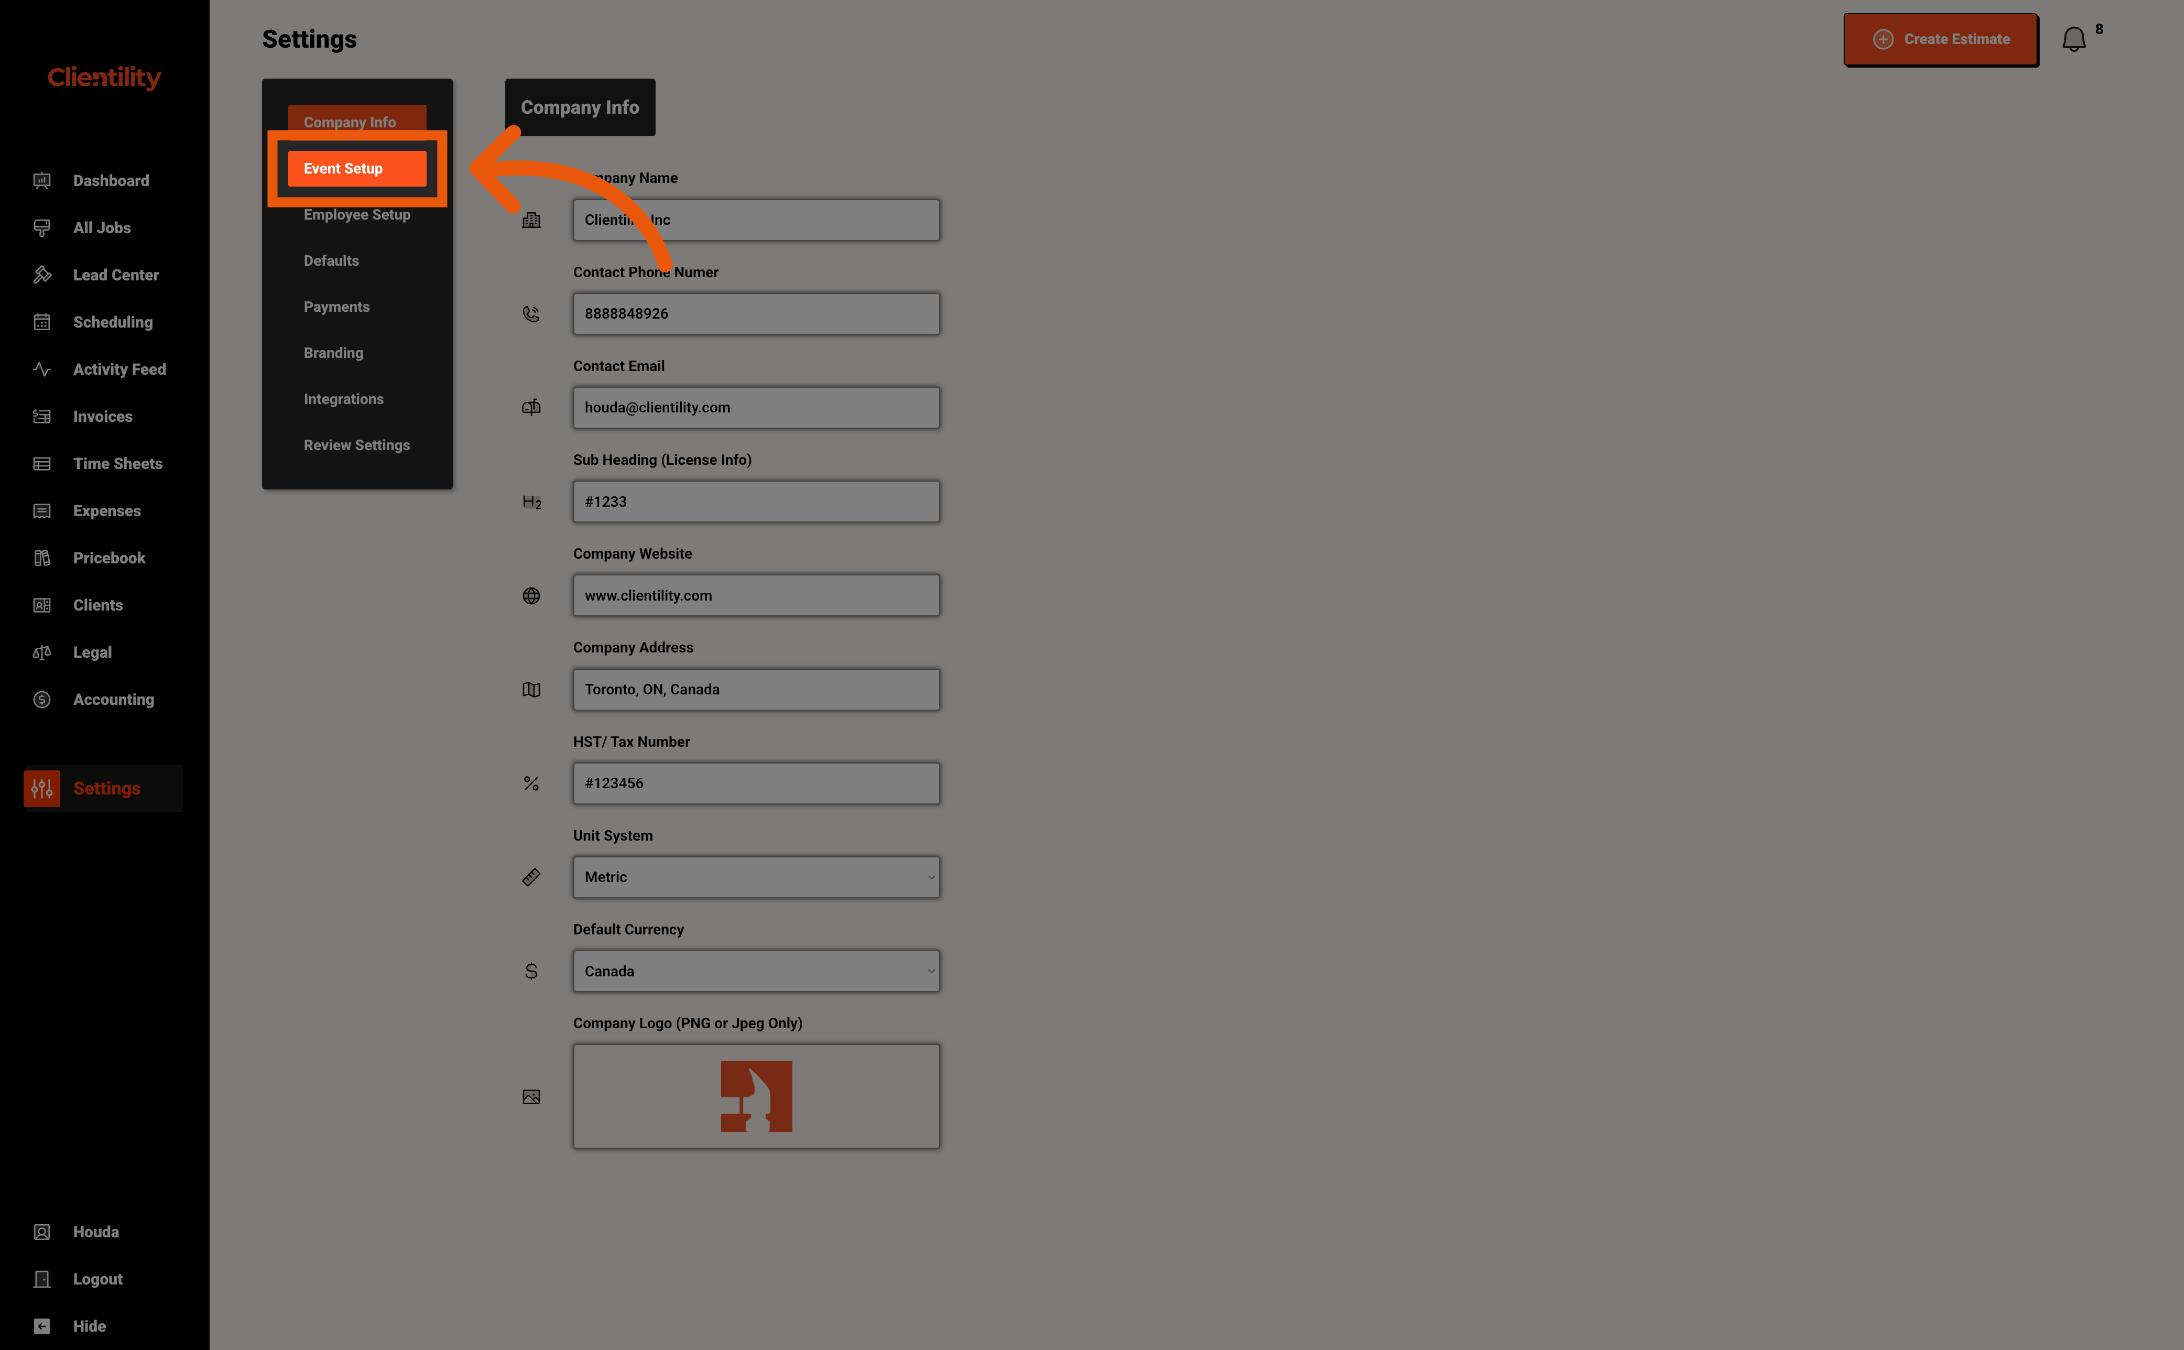
Click Event Setup to manage the event types.
This section is where you can create, edit, and organize the different types of events your business schedules.
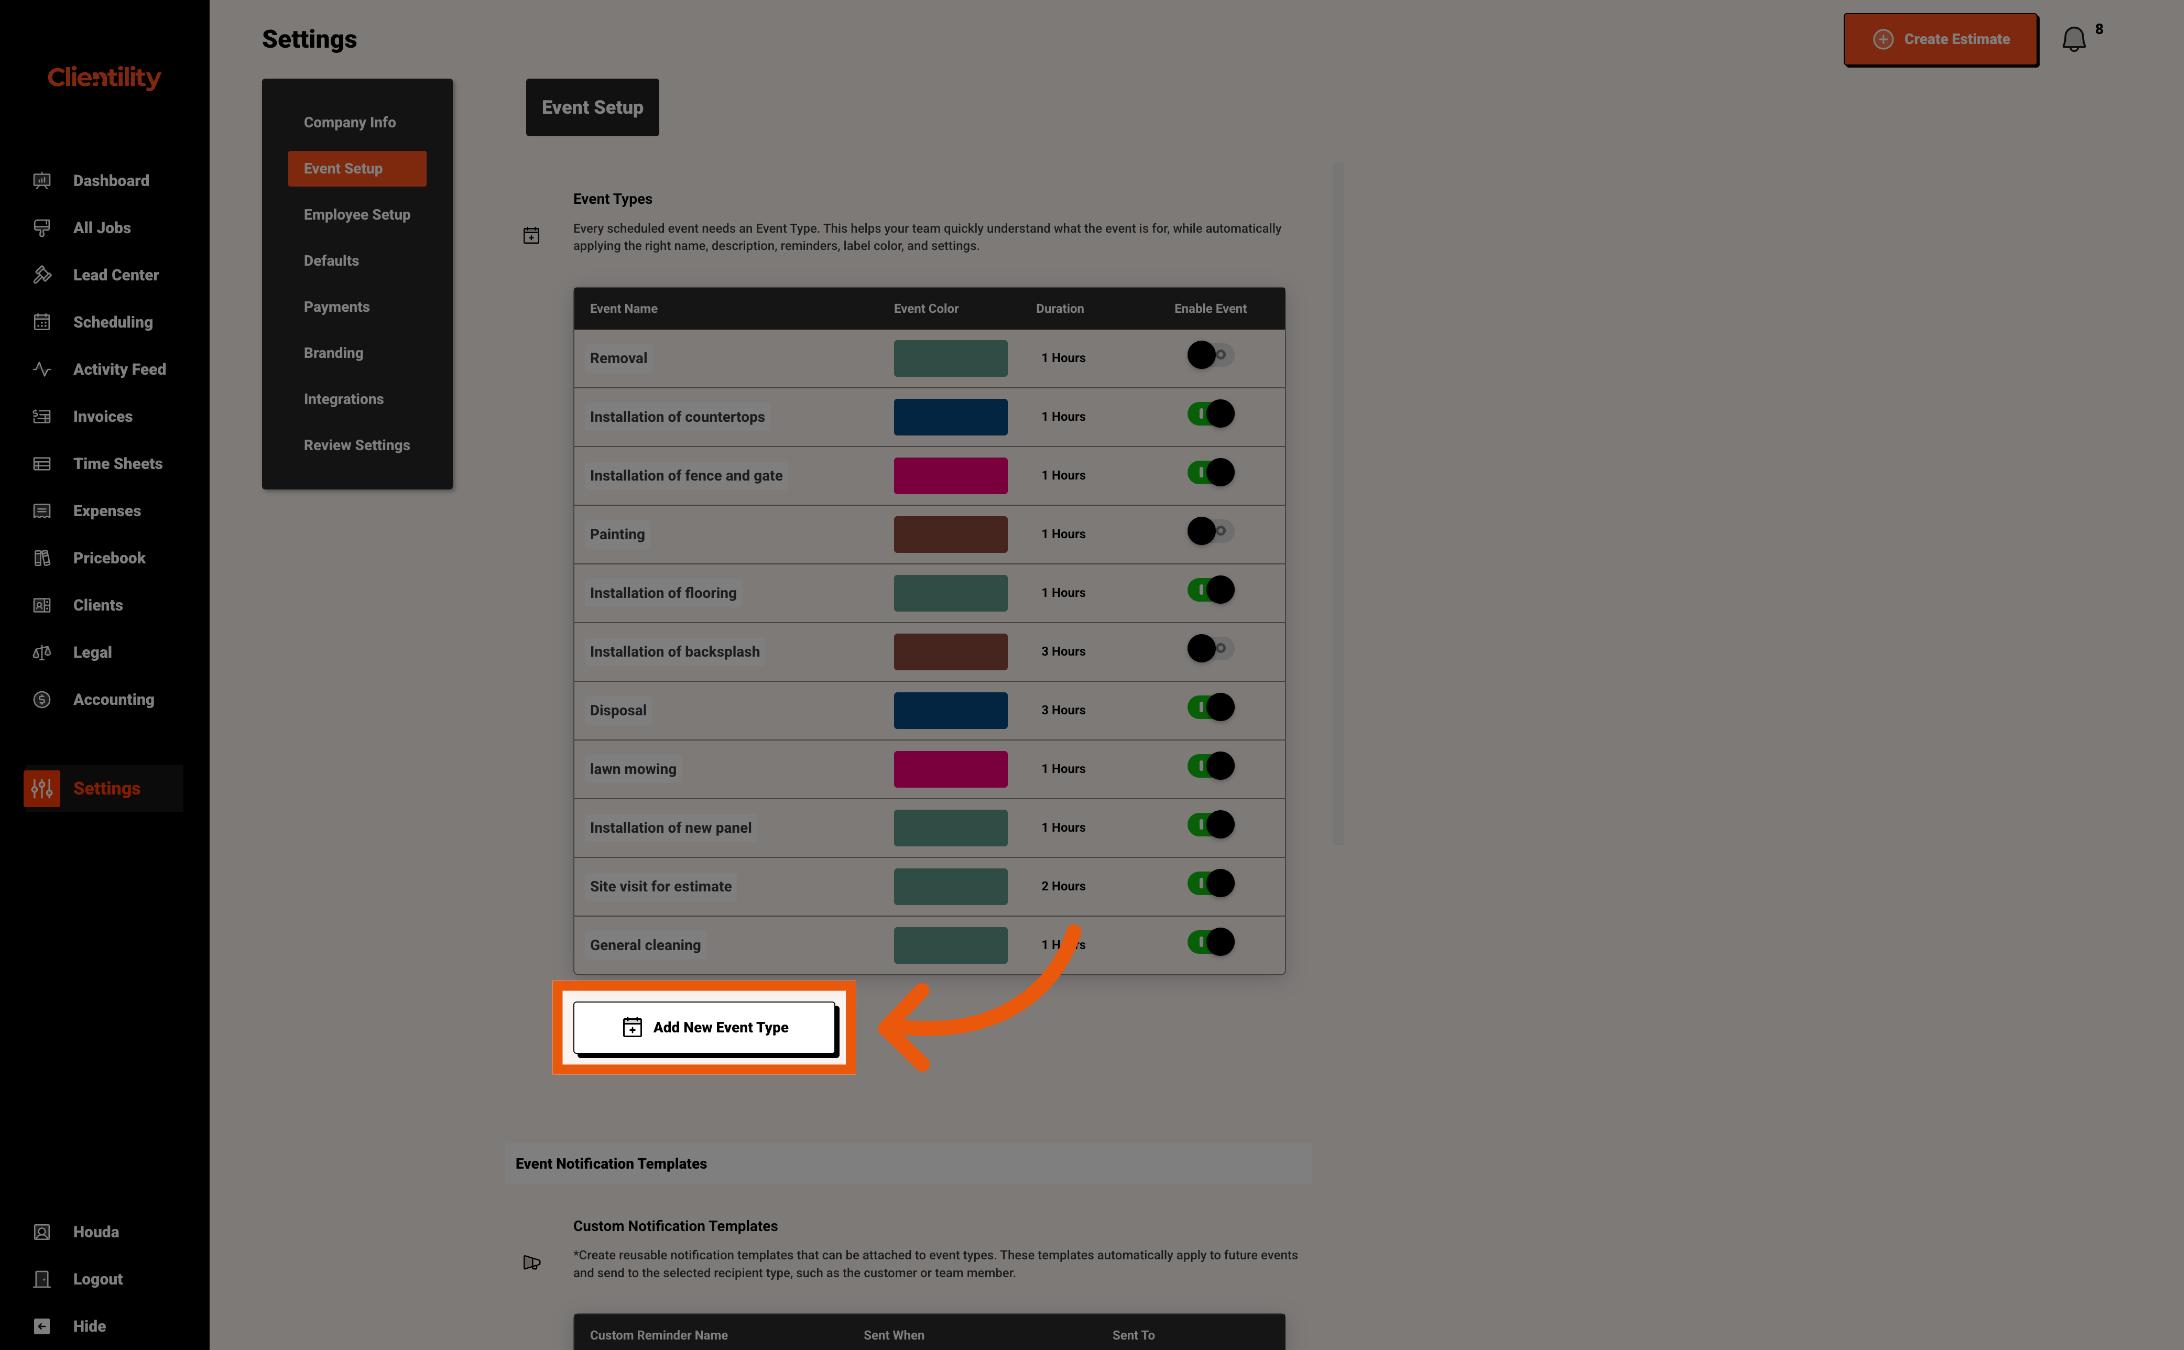
Click Add New Event Type to create a new event type.
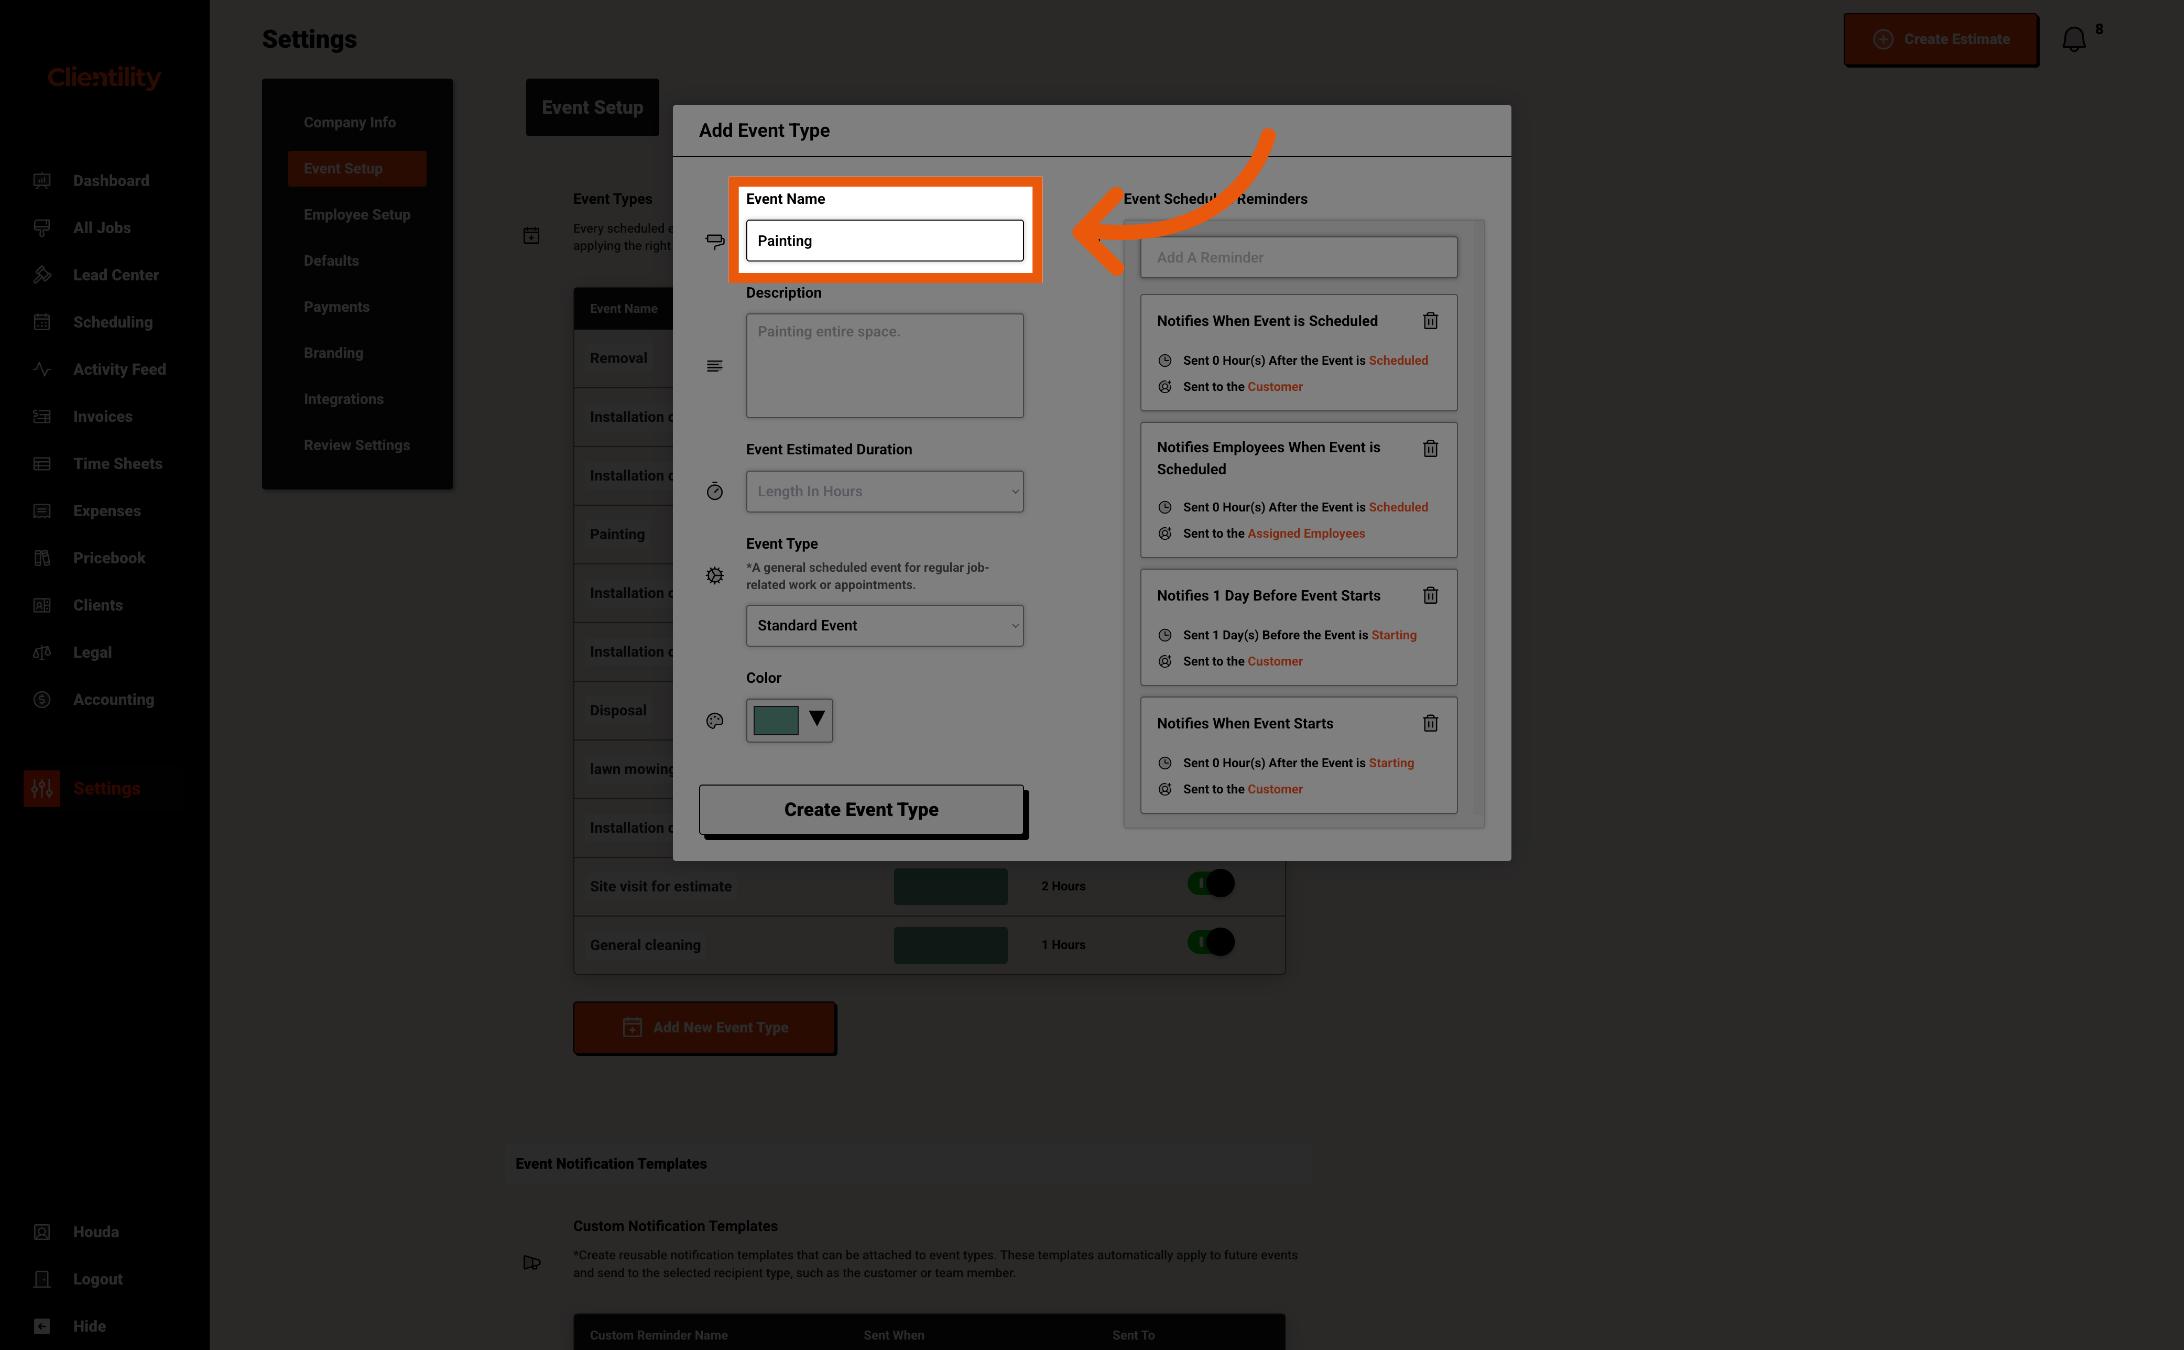
Enter the name of the event.
The event name is what will appear inside Clientility and also be shown to the customer in the portal, so it should be clear and easy to understand.
For example, you can name the event Painting if the event is for a painting stage of the job.
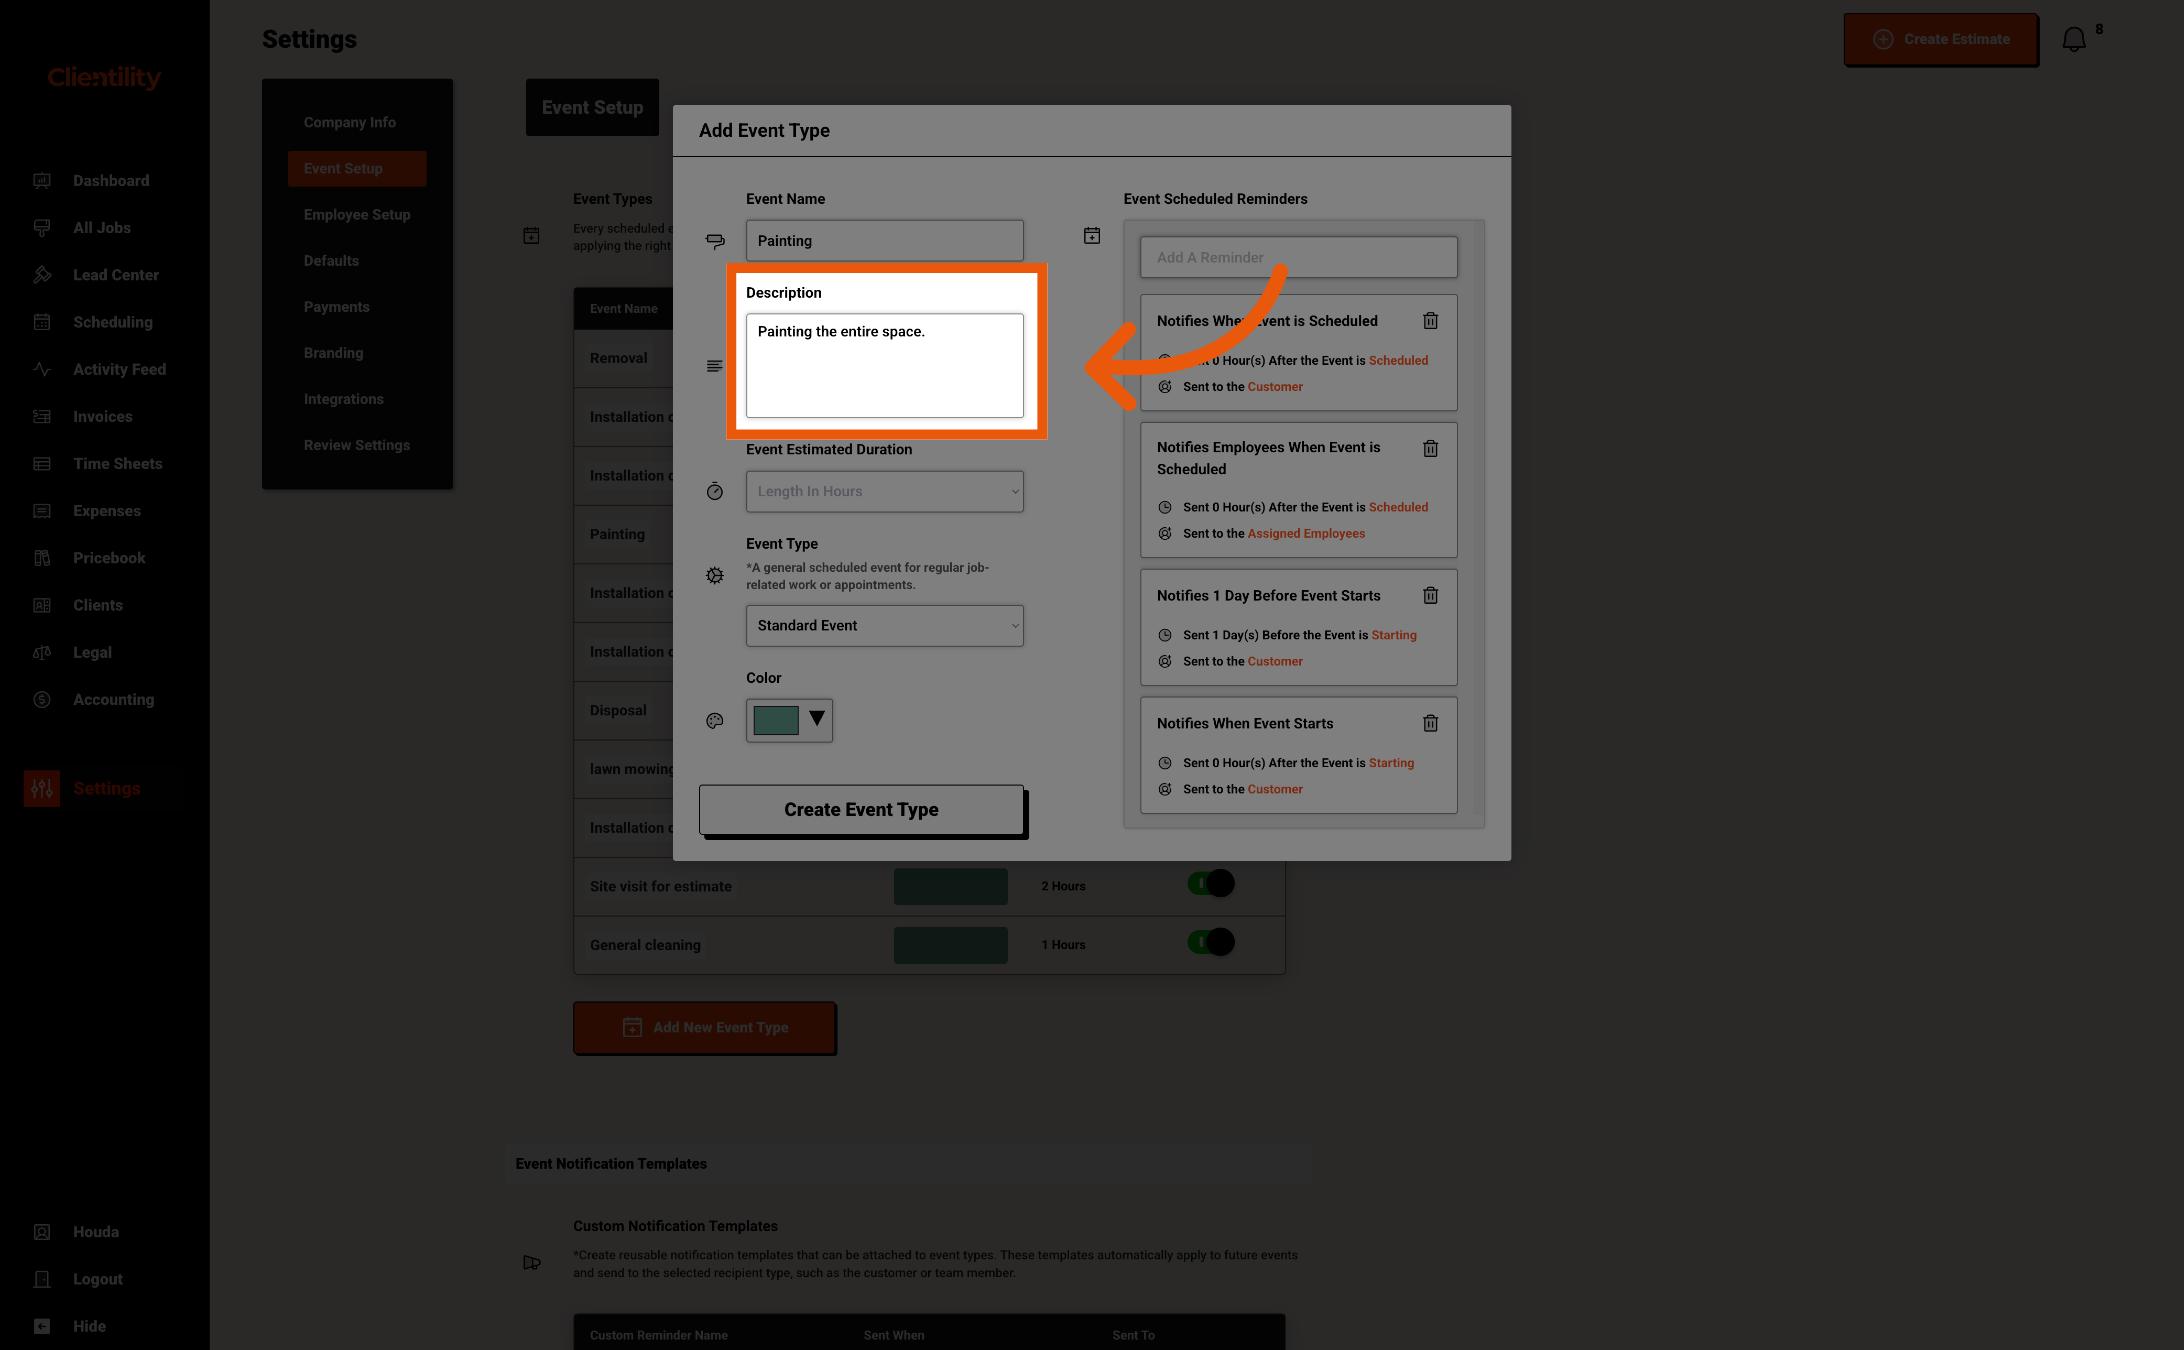
Enter a description explaining what this event includes.
The description helps your team and customers understand what will happen during the event.
For example, if the event name is Painting, the description could be:
Painting the living room and kitchen area.
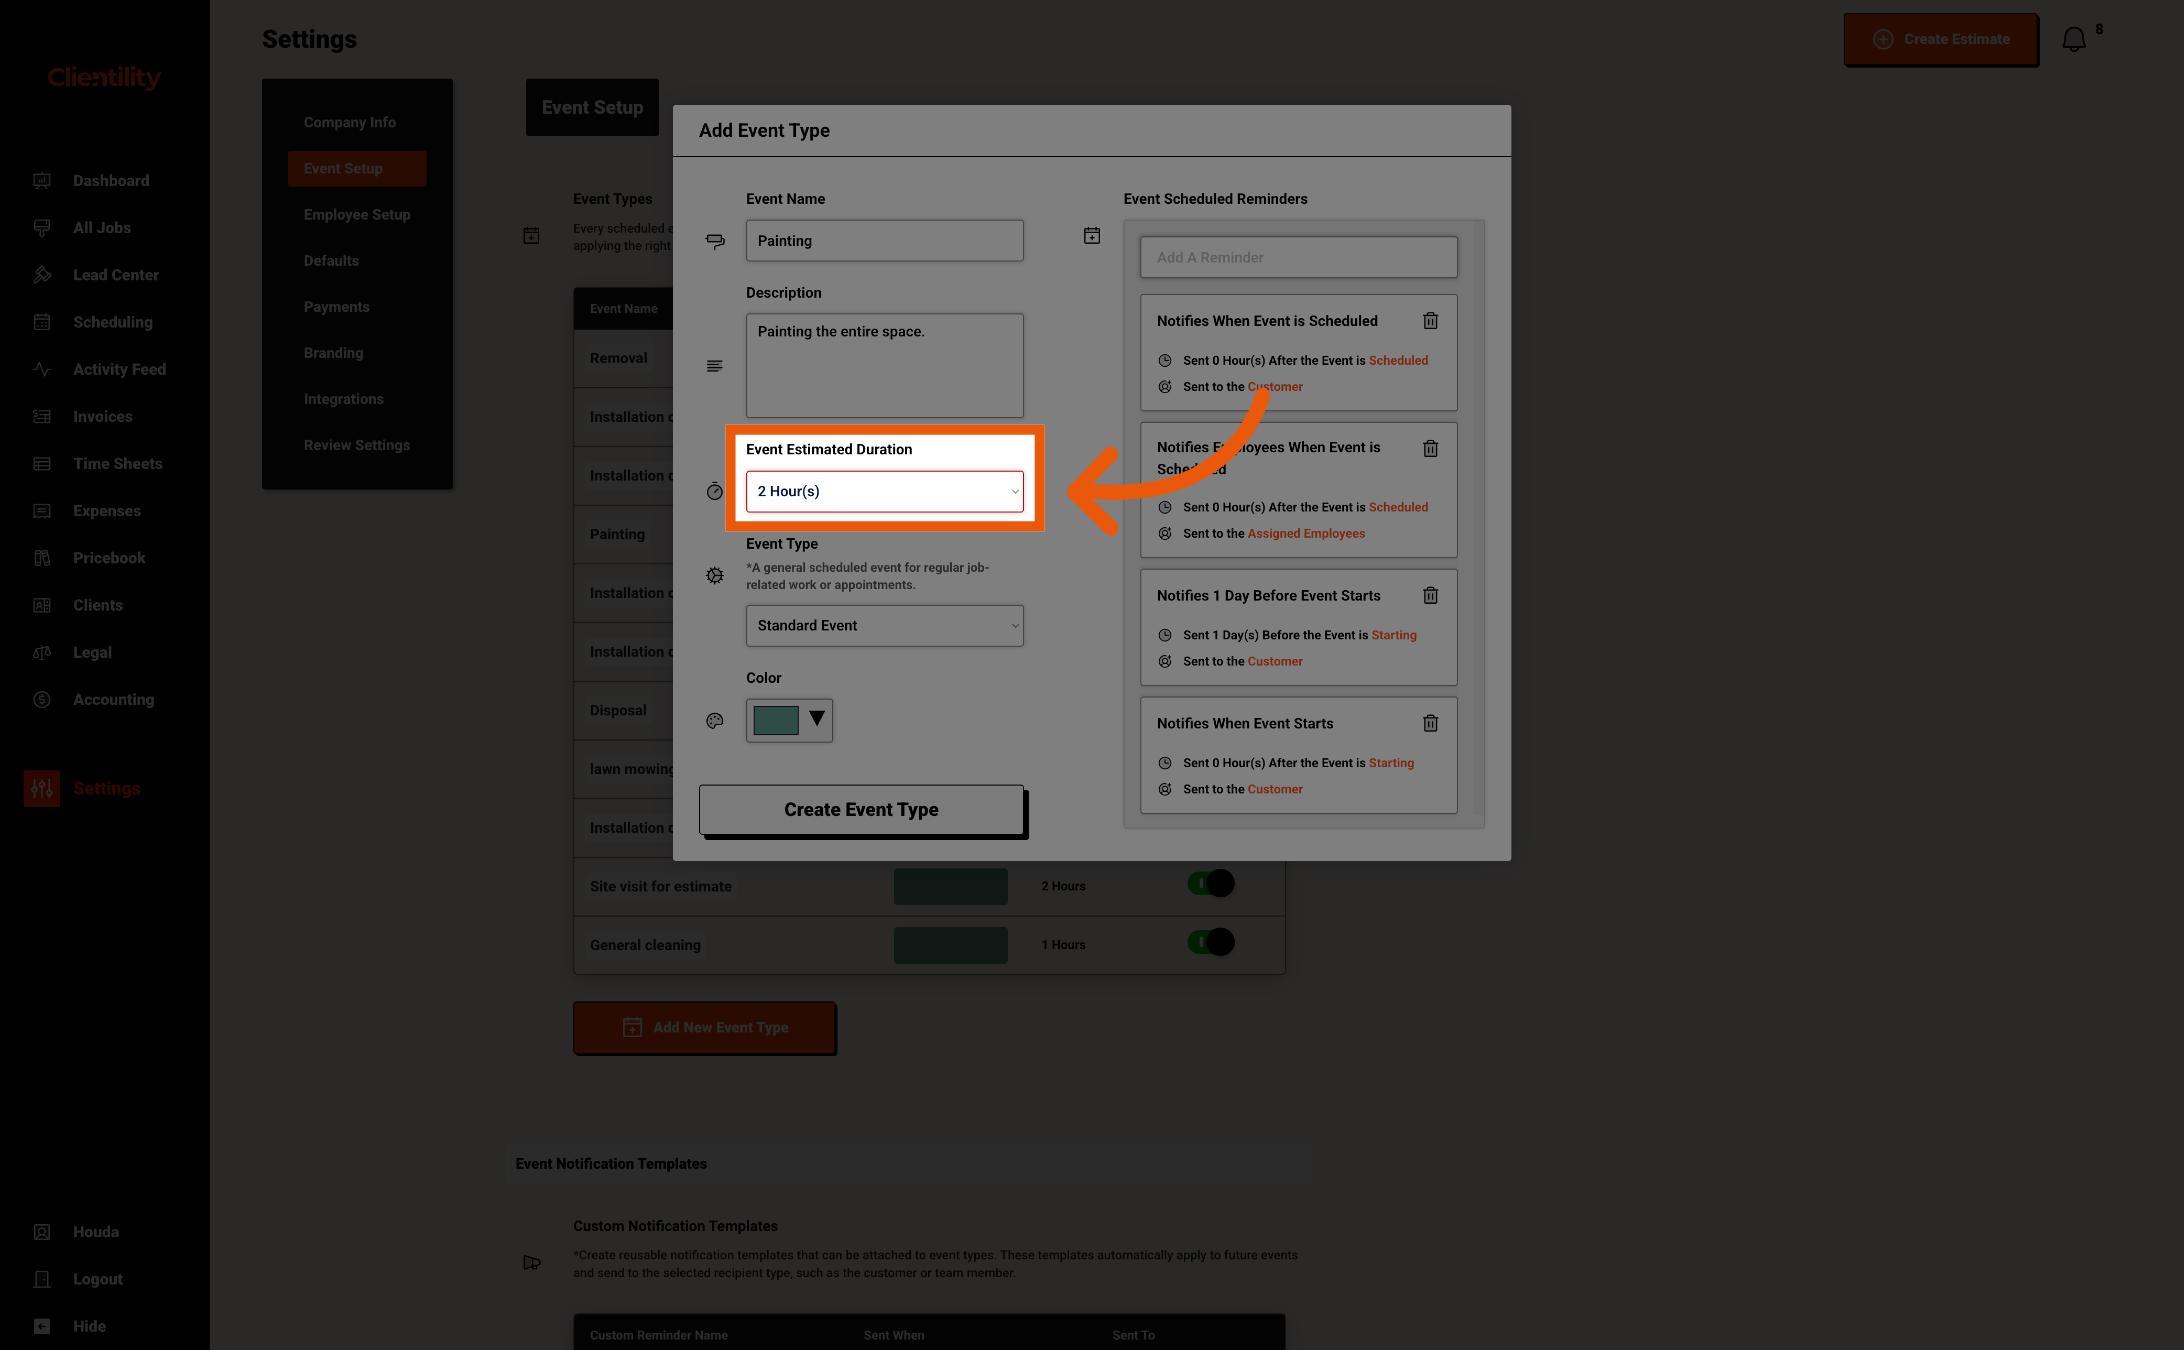
Select the estimated duration for the event.
This controls how long the event is expected to take.
The duration will be used inside the software and will also be shown to the customer in the portal.
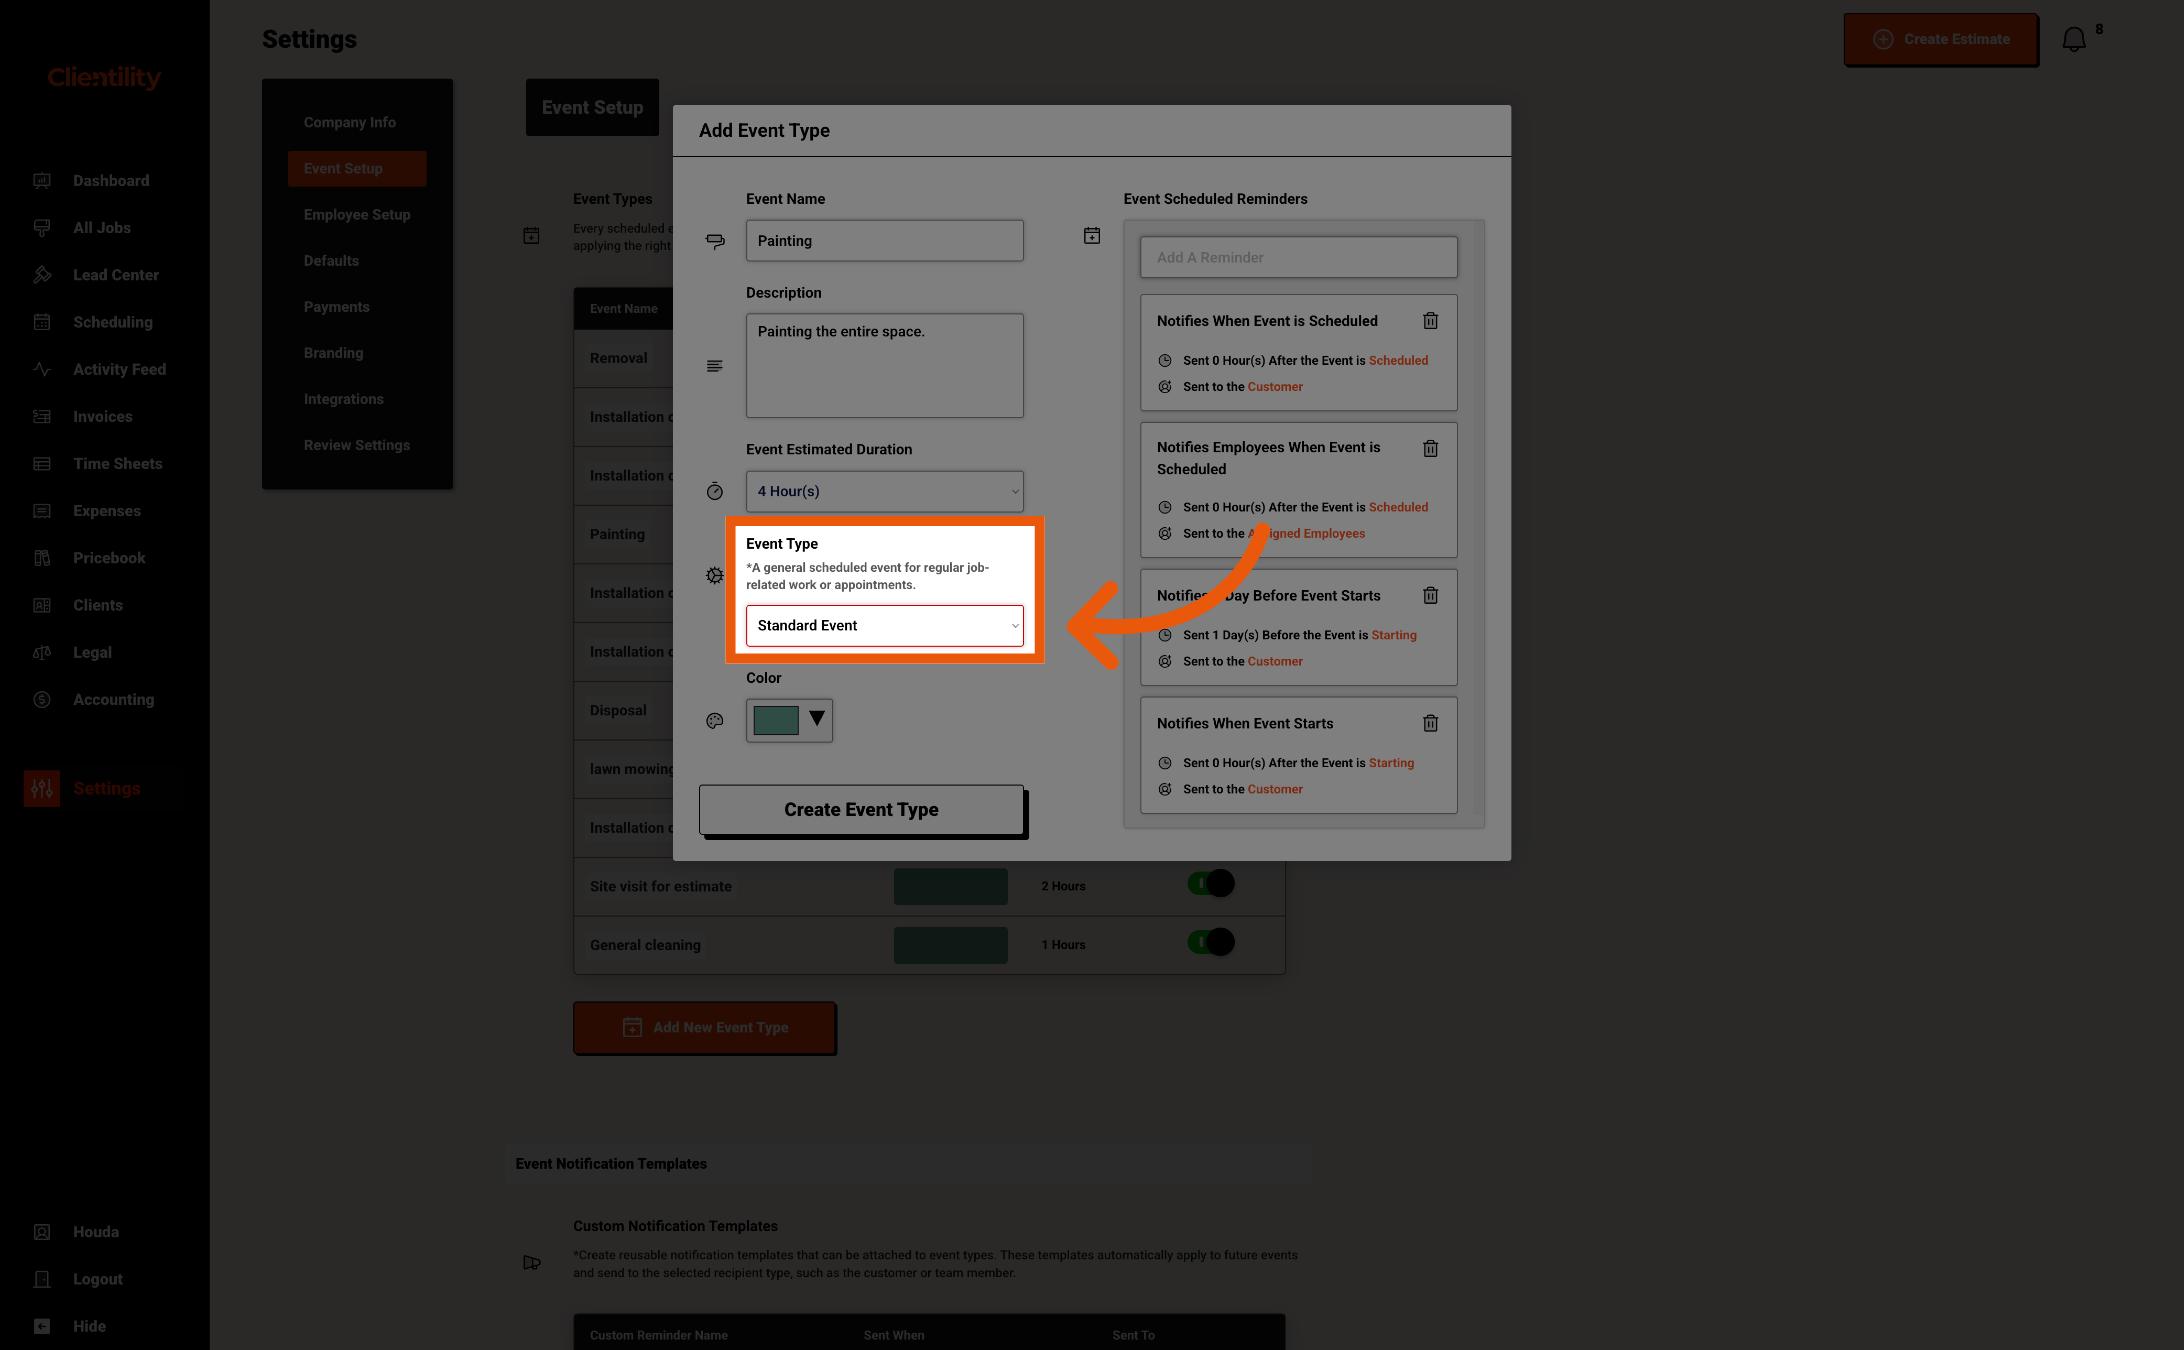
Select the event type that best matches how your event will be used.
Standard Event is used for regular job events. This can include work stages such as installation, painting, repairs, or cleaning. Most events will use this option.
Free Estimate Site Visit is used when you want to visit the customer’s property before creating an estimate, and you are not charging the customer for the visit. This is helpful when you need to inspect the space, understand the work needed, or gather details before preparing the estimate.
Paid Site Visit is used when you want to visit the customer’s property before creating an estimate, but the customer is being charged for the visit. This is helpful when the visit takes time, requires travel, or includes professional advice before the estimate is created.
Internal Event is used for events that are only for you and your team. These events appear inside Clientility but are not shown to the customer in the portal. This can be used for team reminders, preparation work, material pickup, office tasks, or internal scheduling.
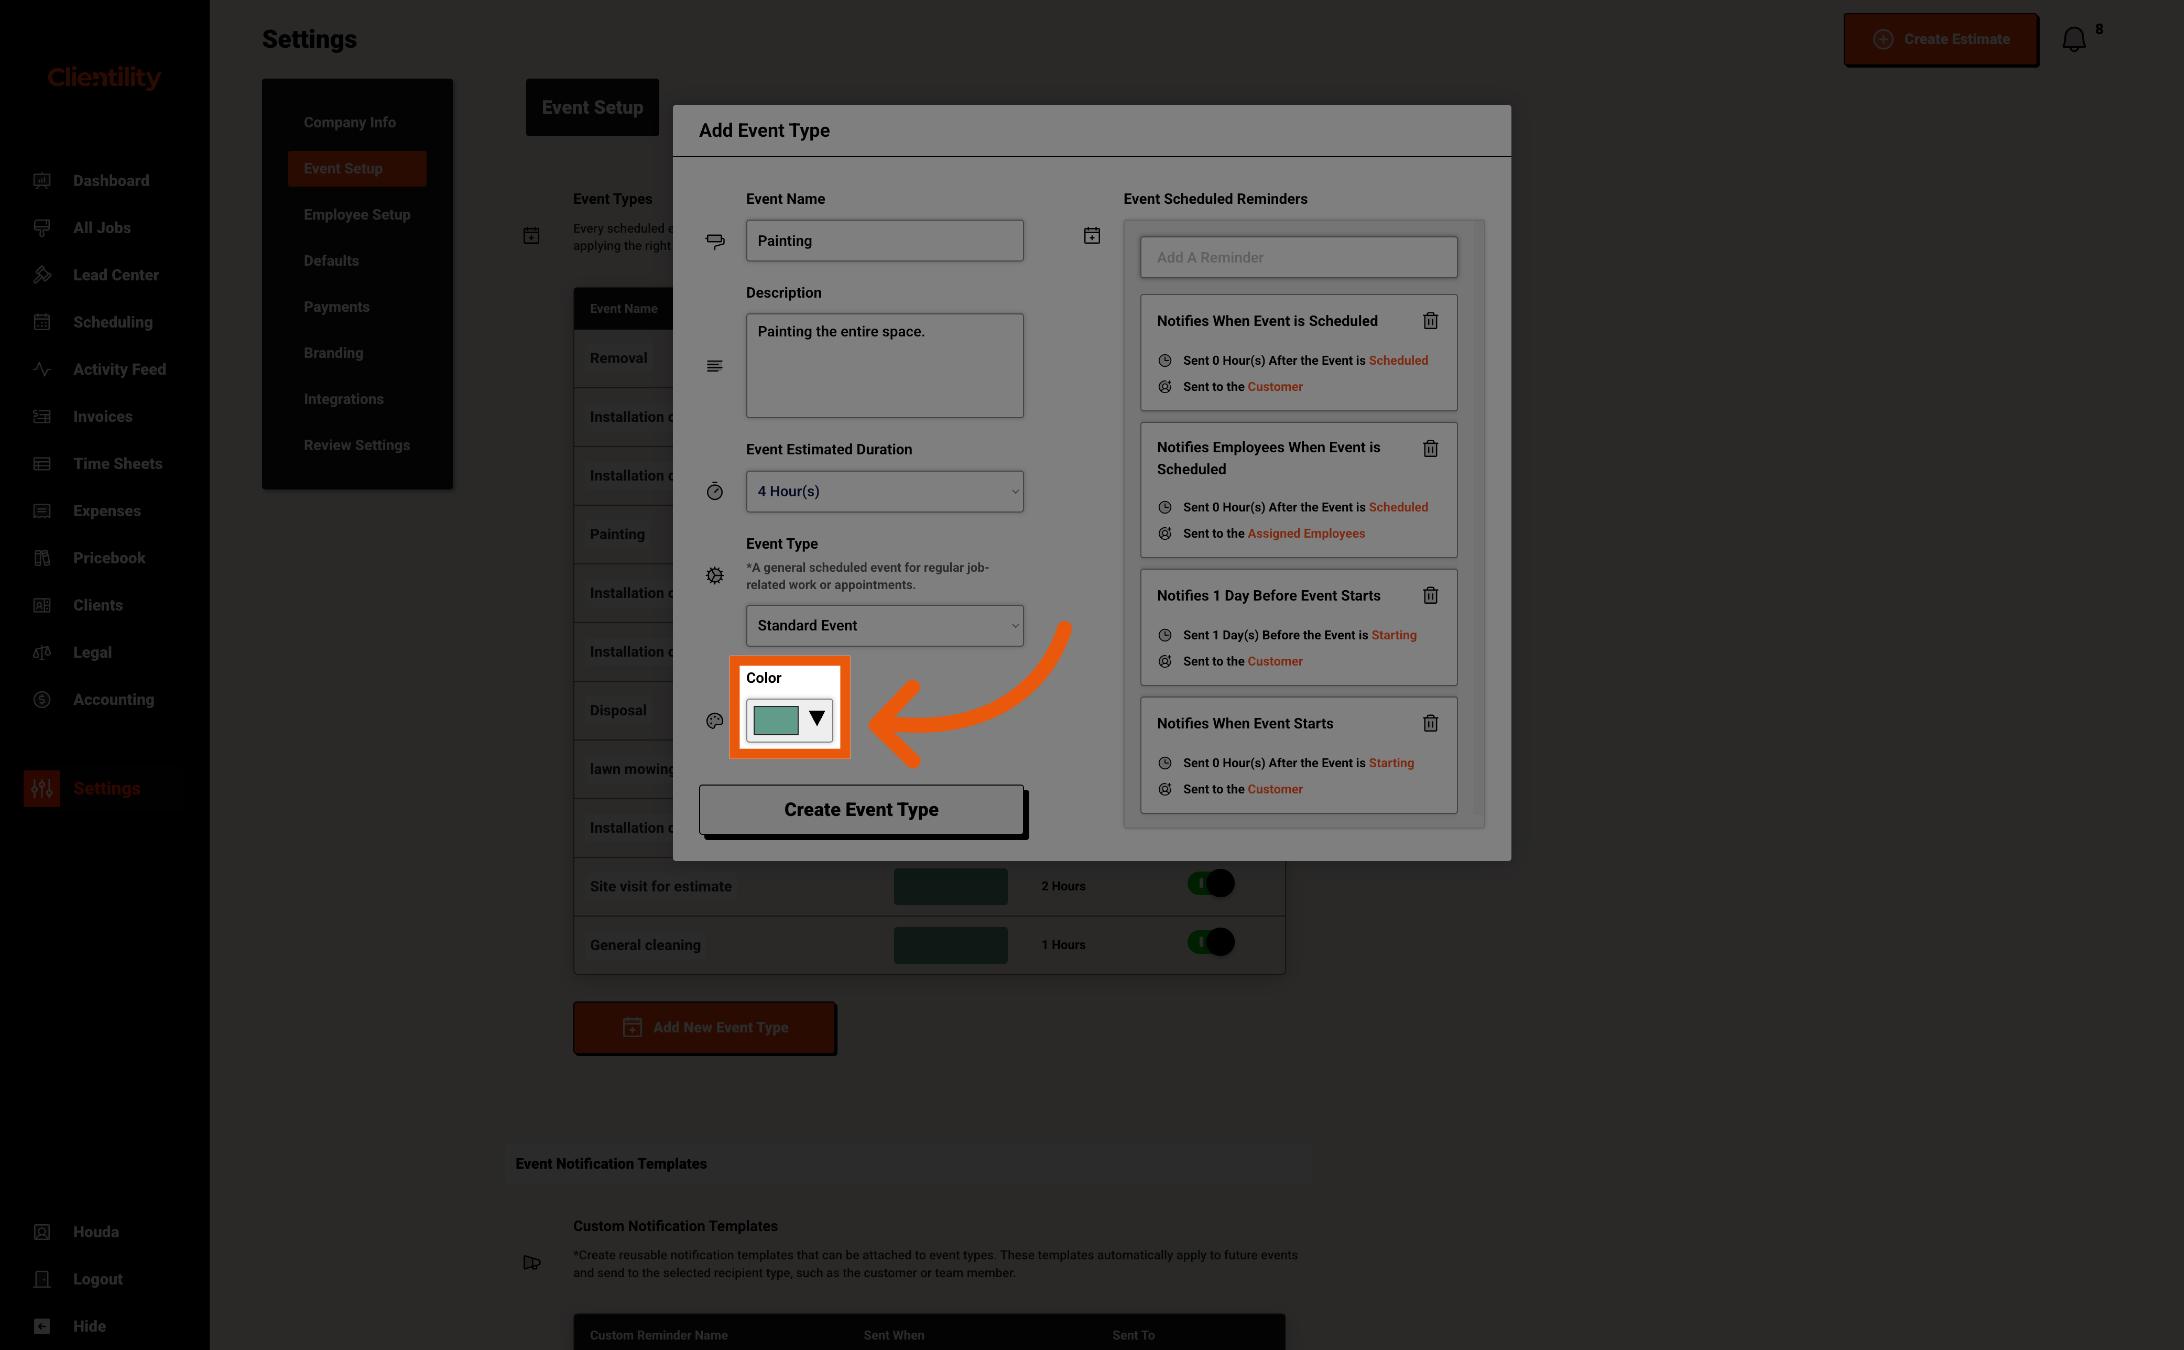
Select a colour for the event type.
This helps visually organize your schedule so you and your team can quickly identify different types of events on the calendar.
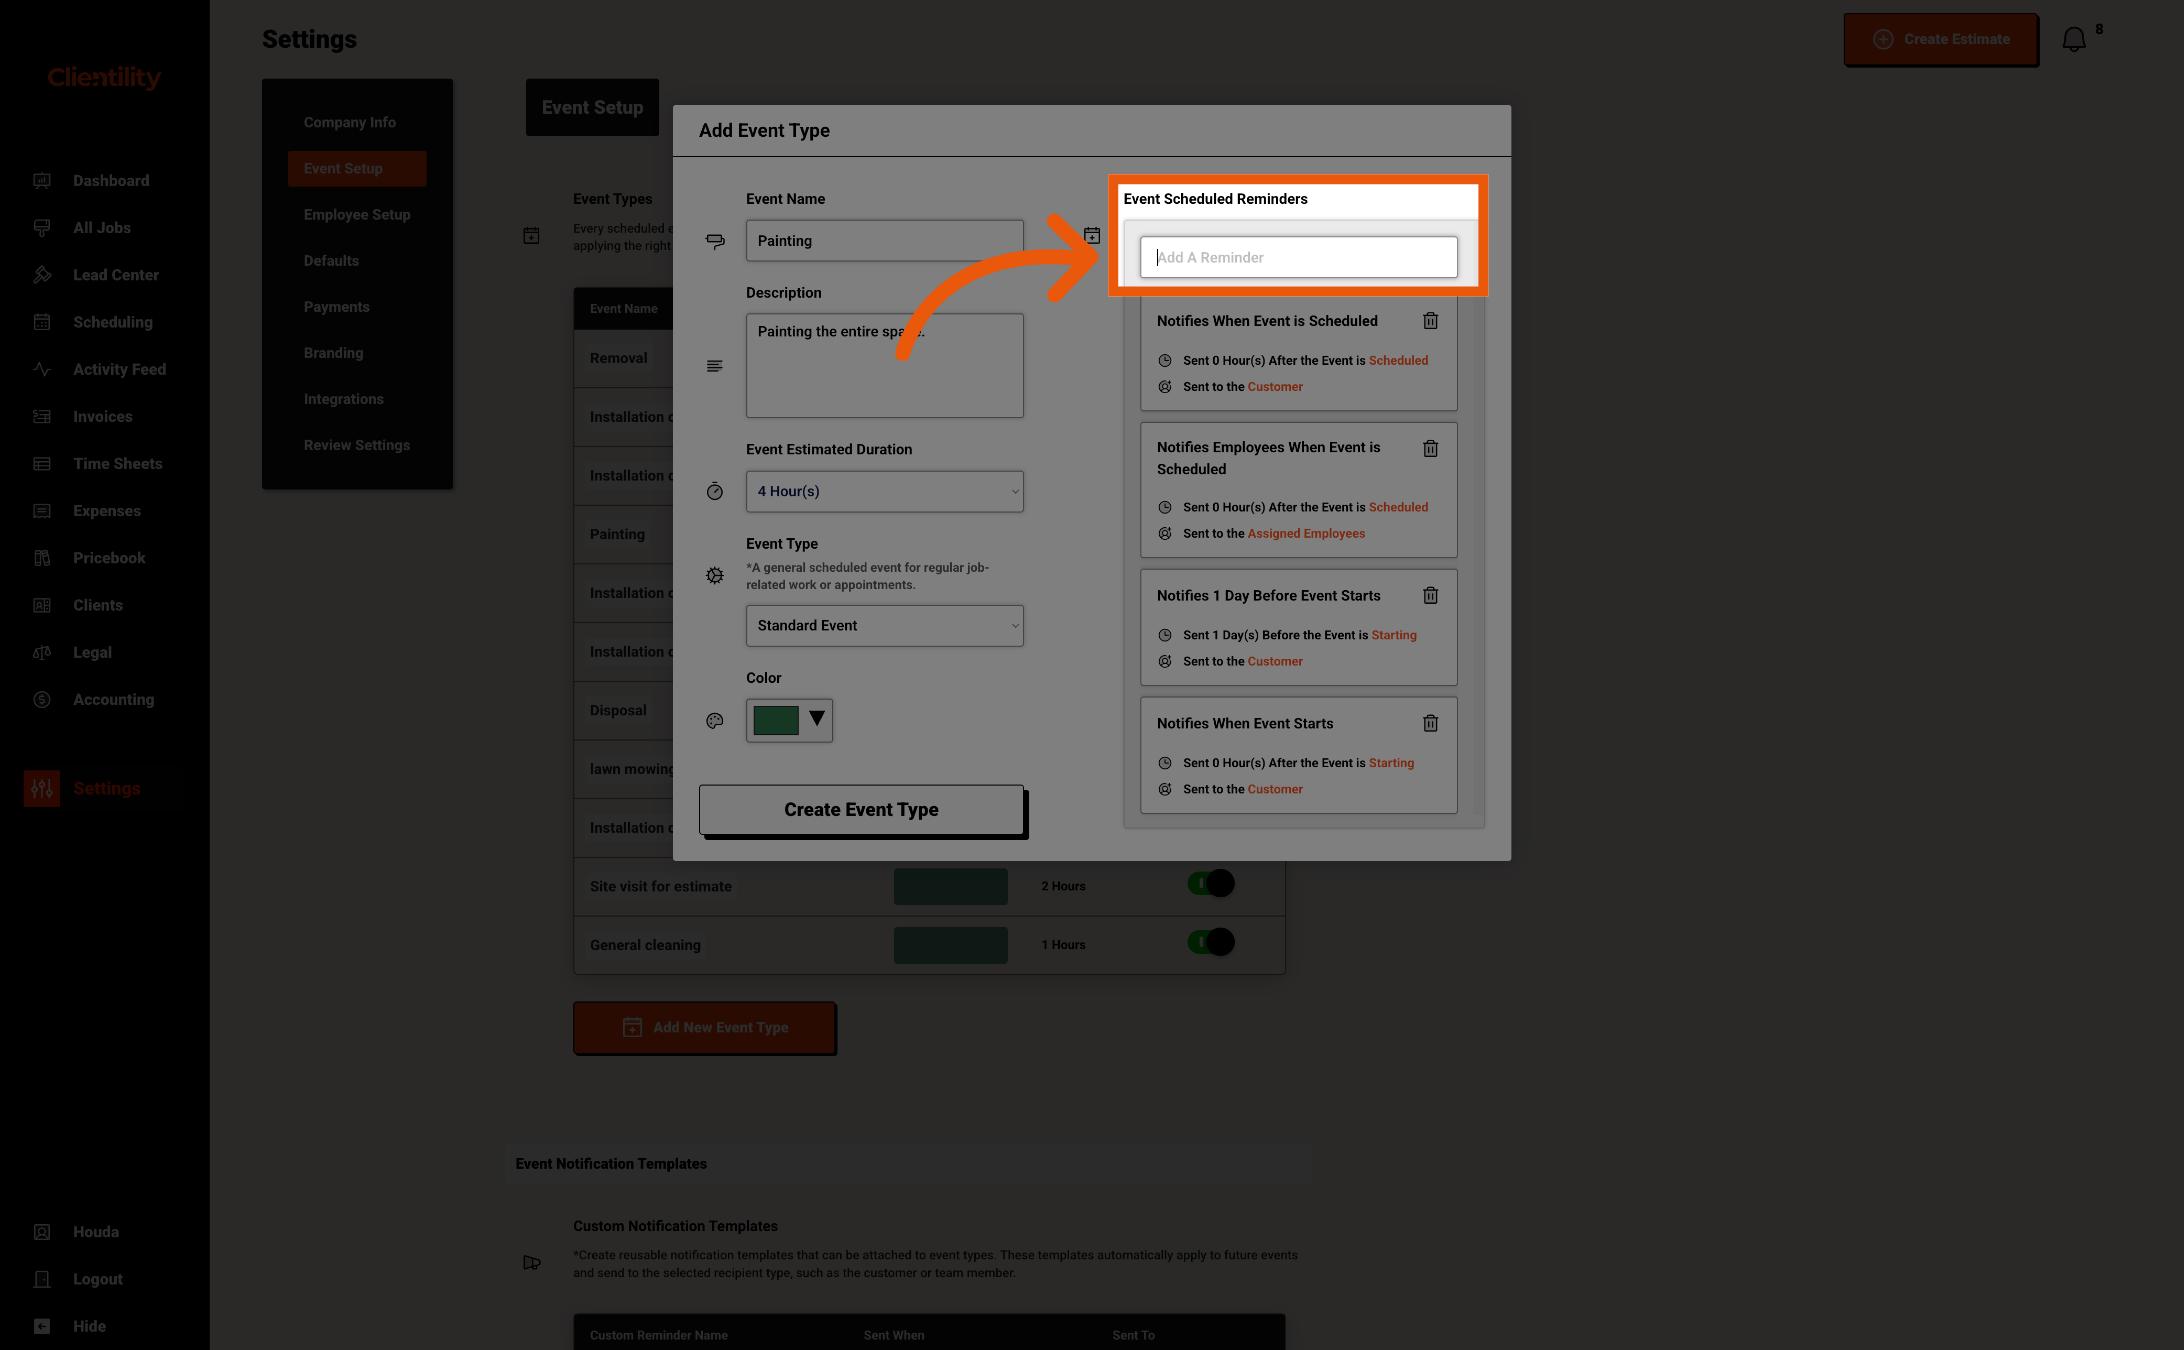
Each event type includes the default event notifications that come with Clientility.
You can also attach additional reminders if you created custom reminder templates in your Event Notification settings.
To learn how to create custom reminders, see How to Create Event Notification Templates.
Once everything looks good, click "Create Event Type."
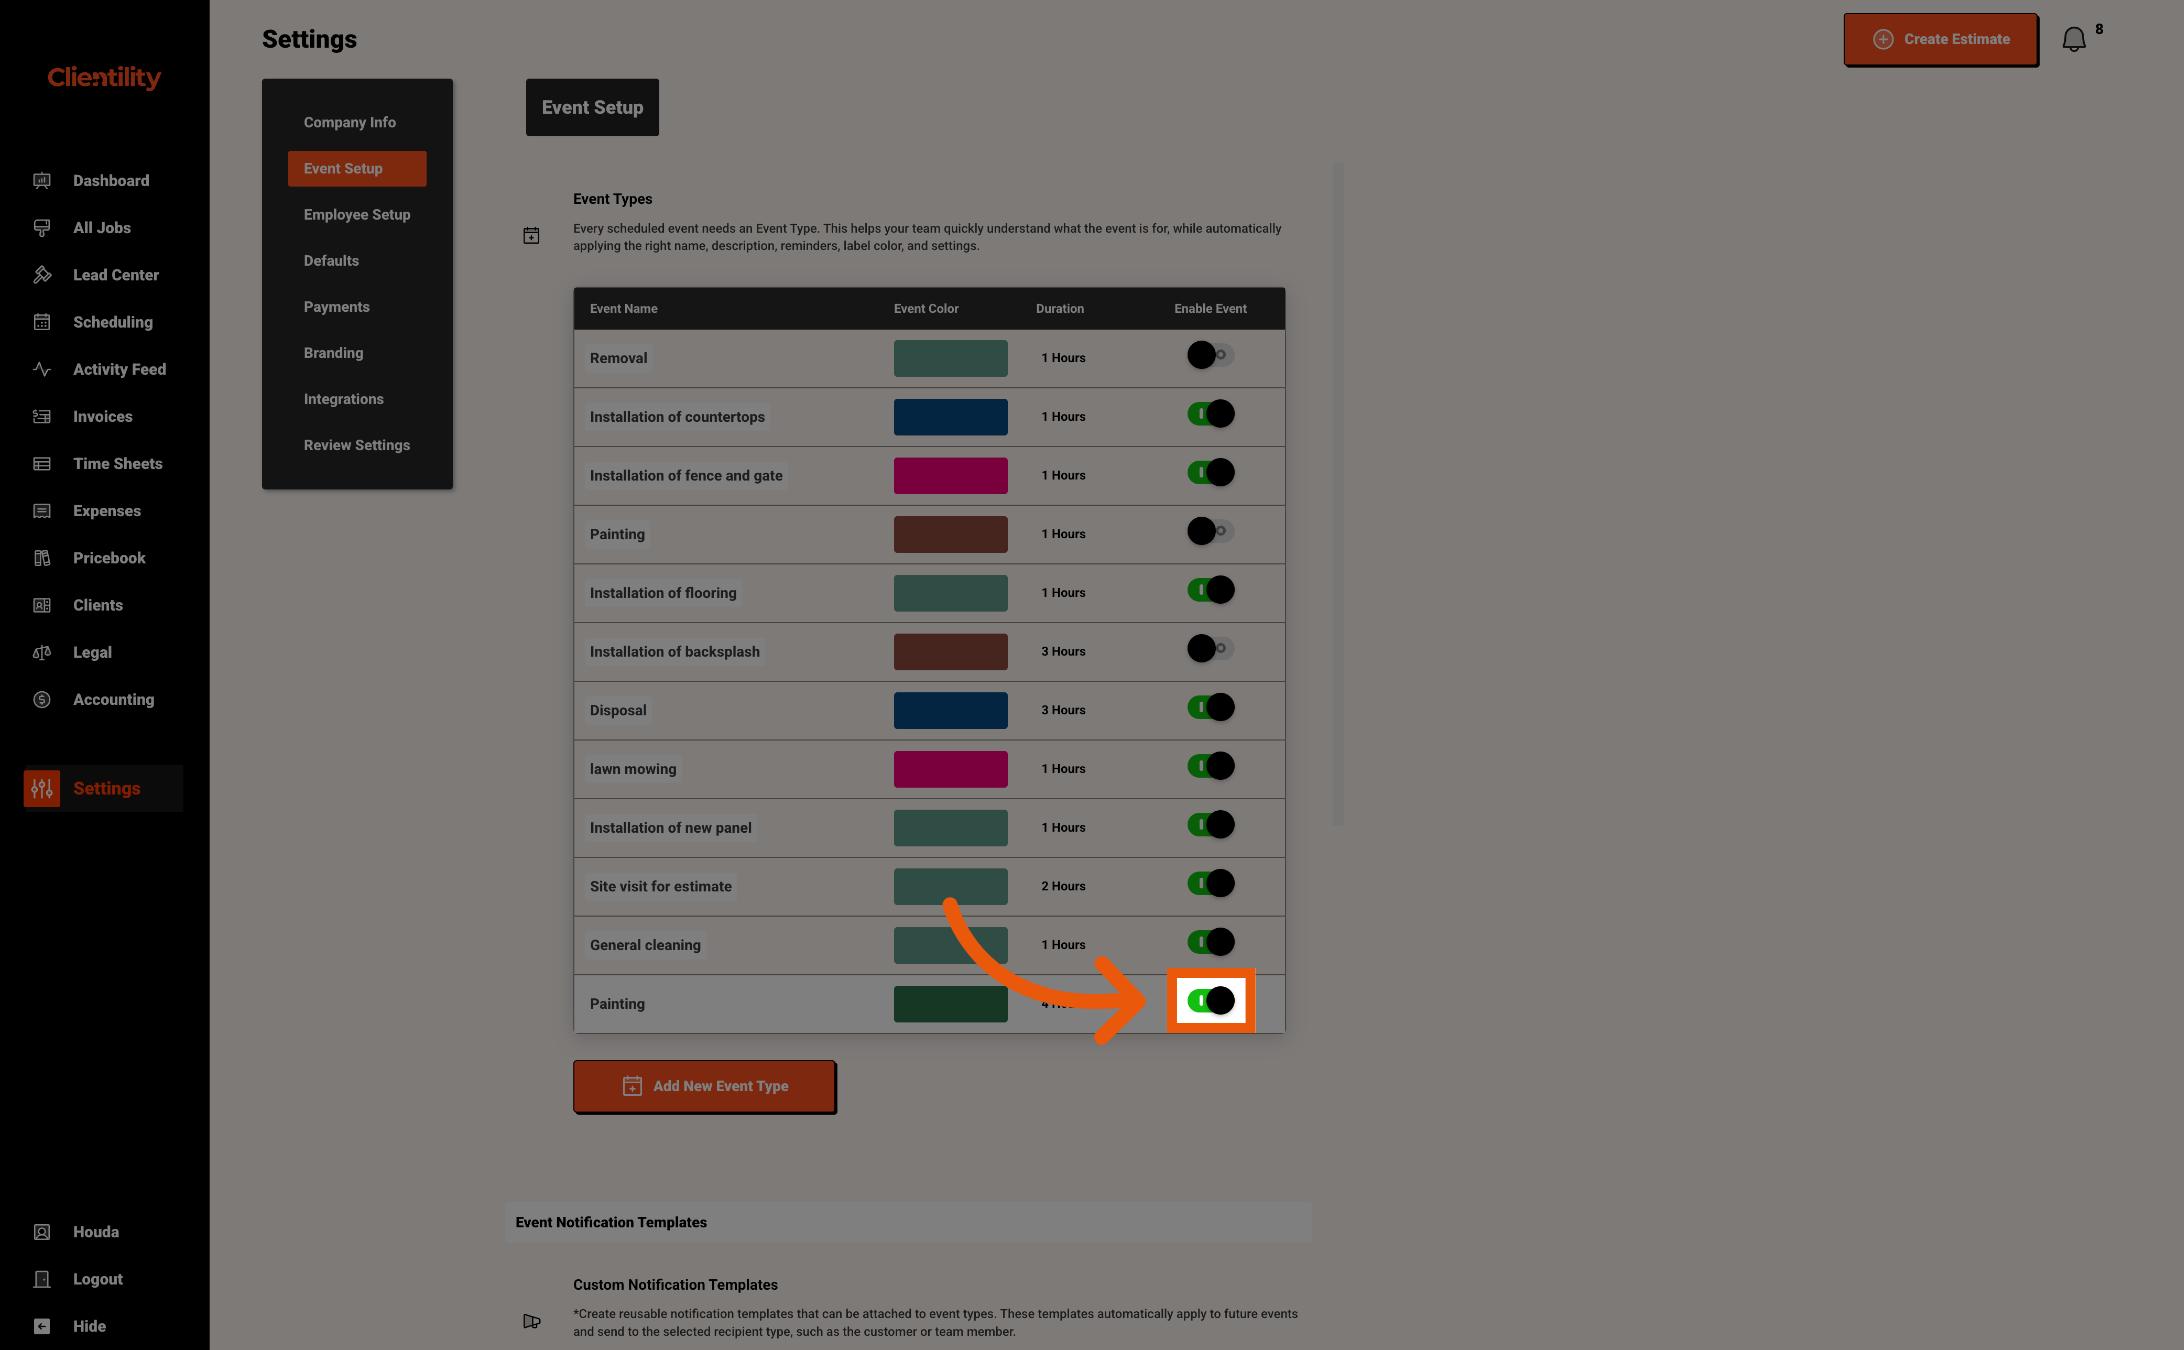
Turn on Enable Event if you want this event type to be available when booking events for a job.
When enabled, this event type can be selected when scheduling job events.
If it is turned off, the event type will be saved but will not appear as an option when booking new events.
